Categories
Engine Overhaul

Packing up the Engine

Last night I started packing up the engine parts to get them ready to ship to the inspection shops.  I’m struggling a bit with what all to send so I guess I’ll send it all.  I still need to decide what I’m going to do with the cylinders.

Categories
Engine Overhaul

Pulling Crankshaft Gear

To get the gear out of the end of the crankshaft I had to make a tool. It does not want to come out. I’m not sure that I really had to do this. They may pull it at the inspection shop but I hadn’t thought about it at the time so I did it.

Crankshaft gear pulling tool. It’s just a piece of flat bar stock, some angle and a couple of bolts.
Using a small socket and the gear puller made short work of getting that gear off of the crankshaft.
Categories
Engine Overhaul

Crankcase Dissasembly

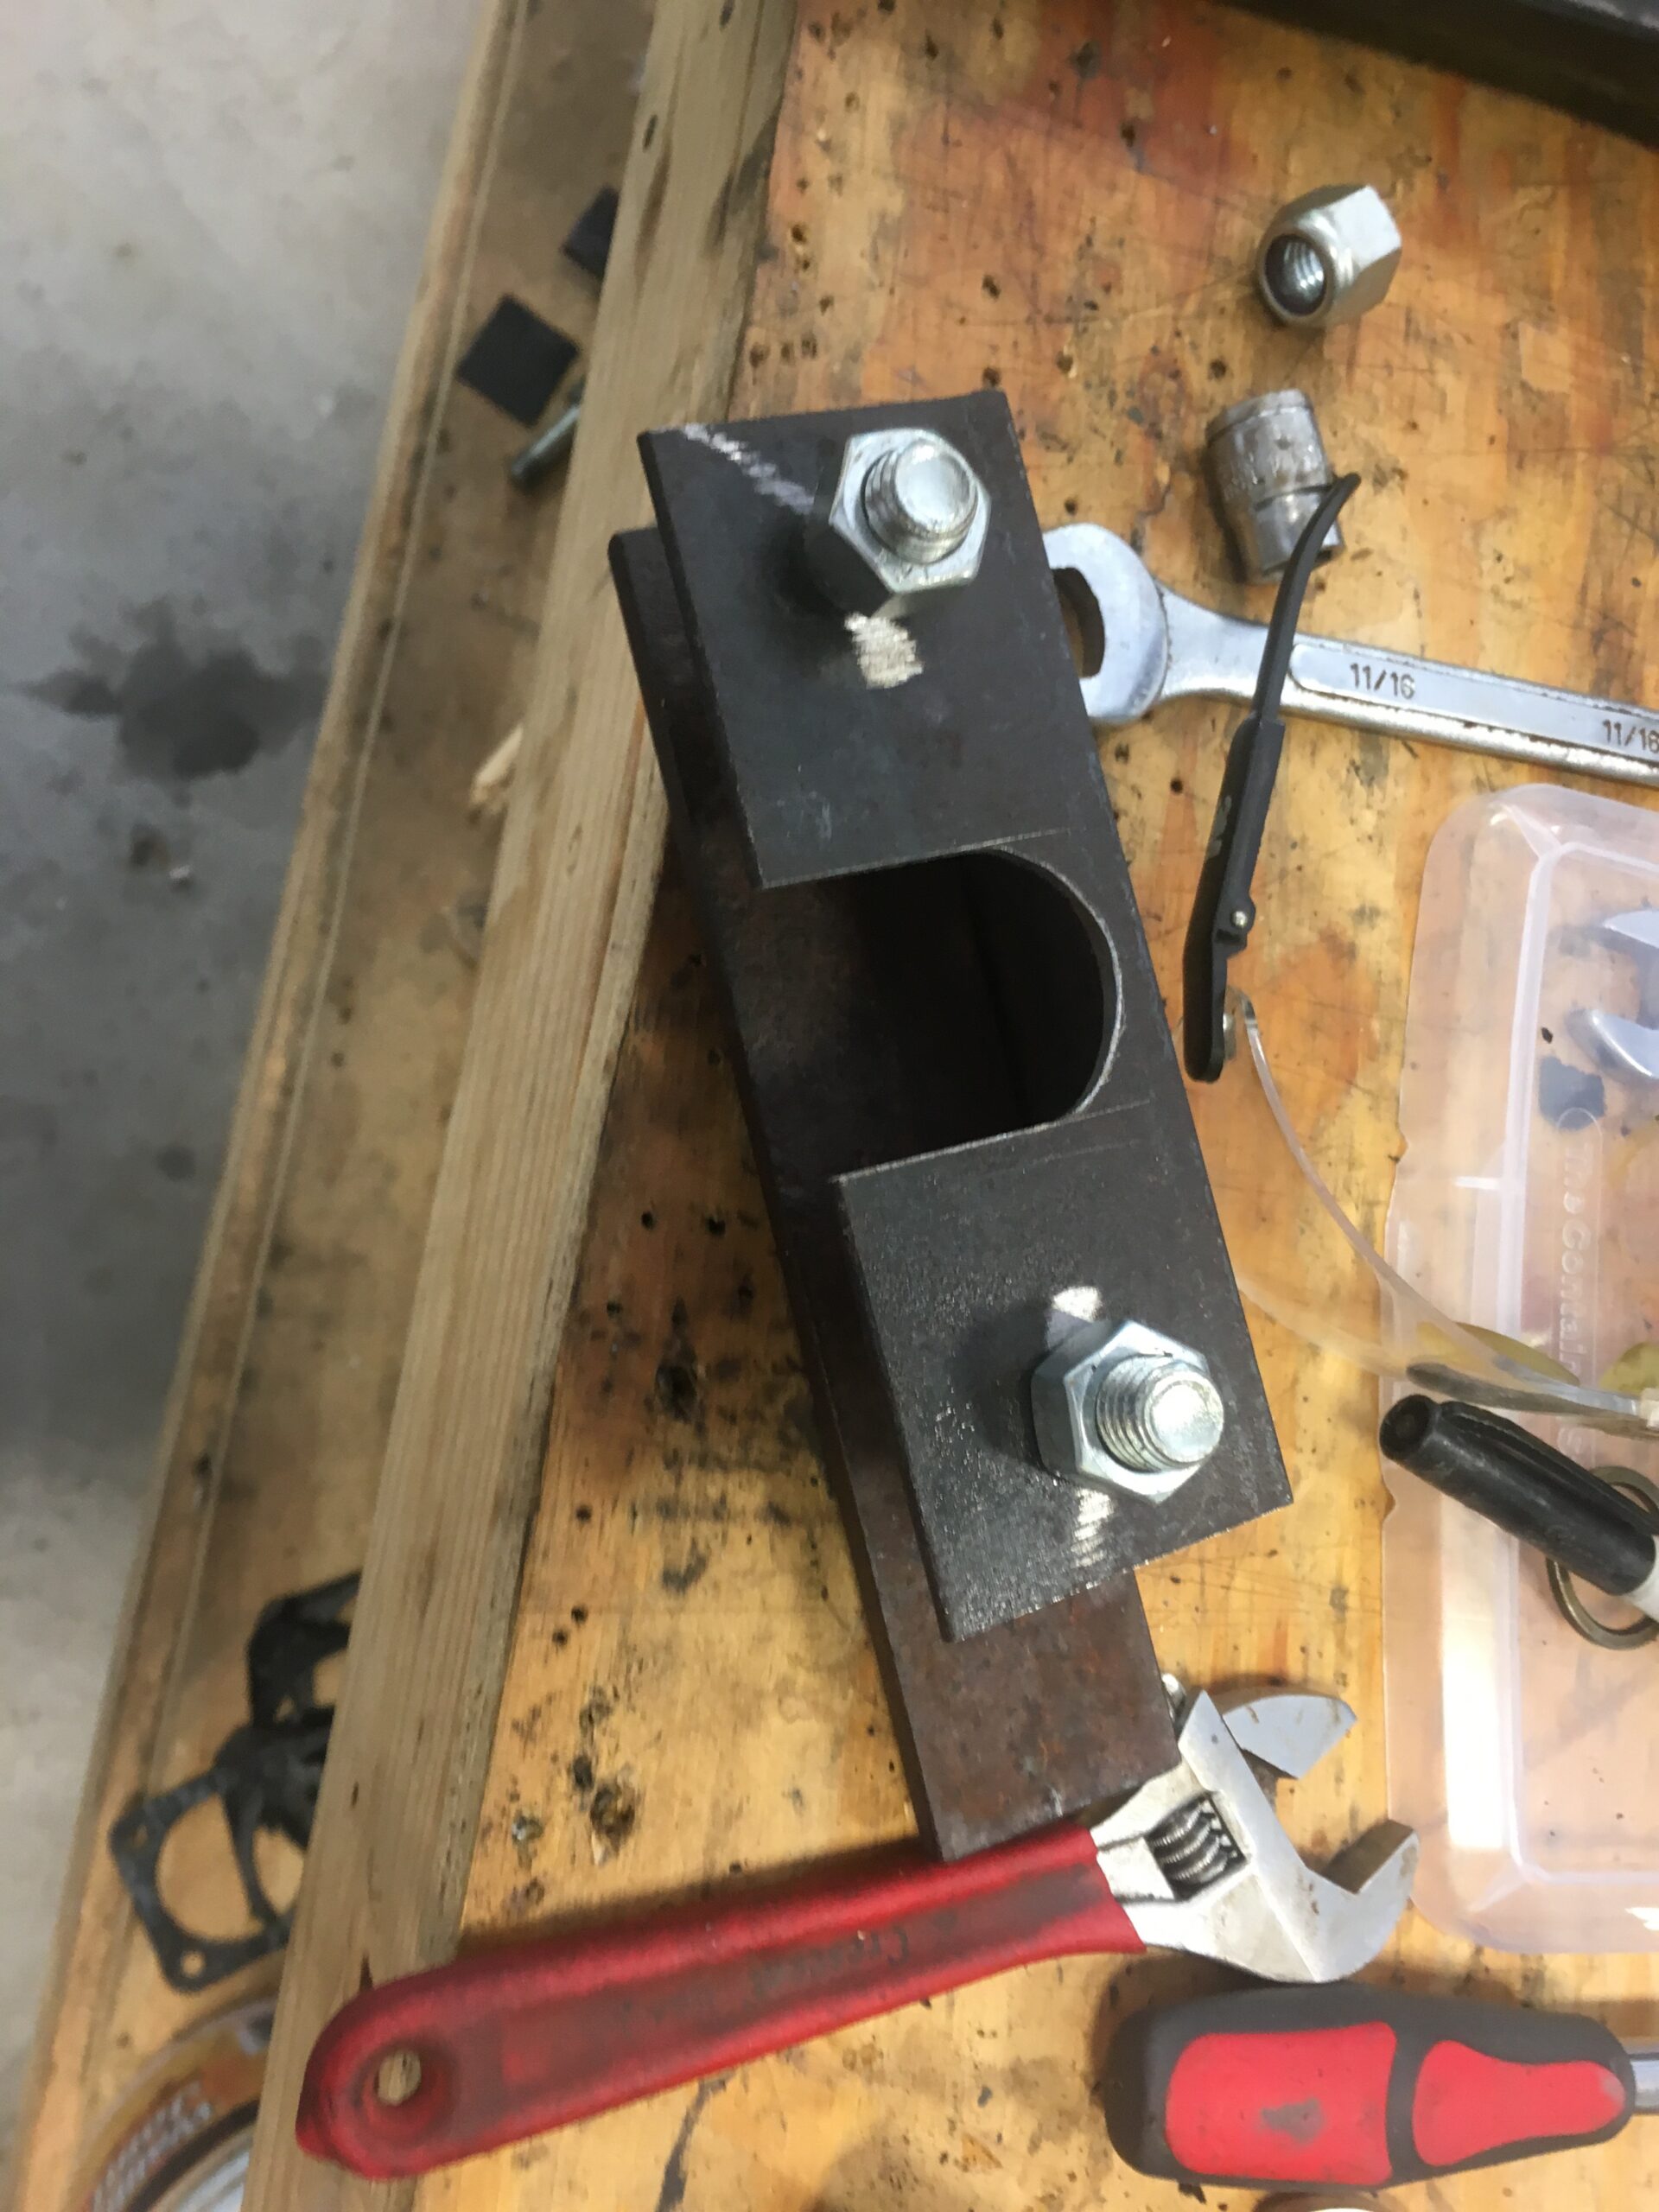
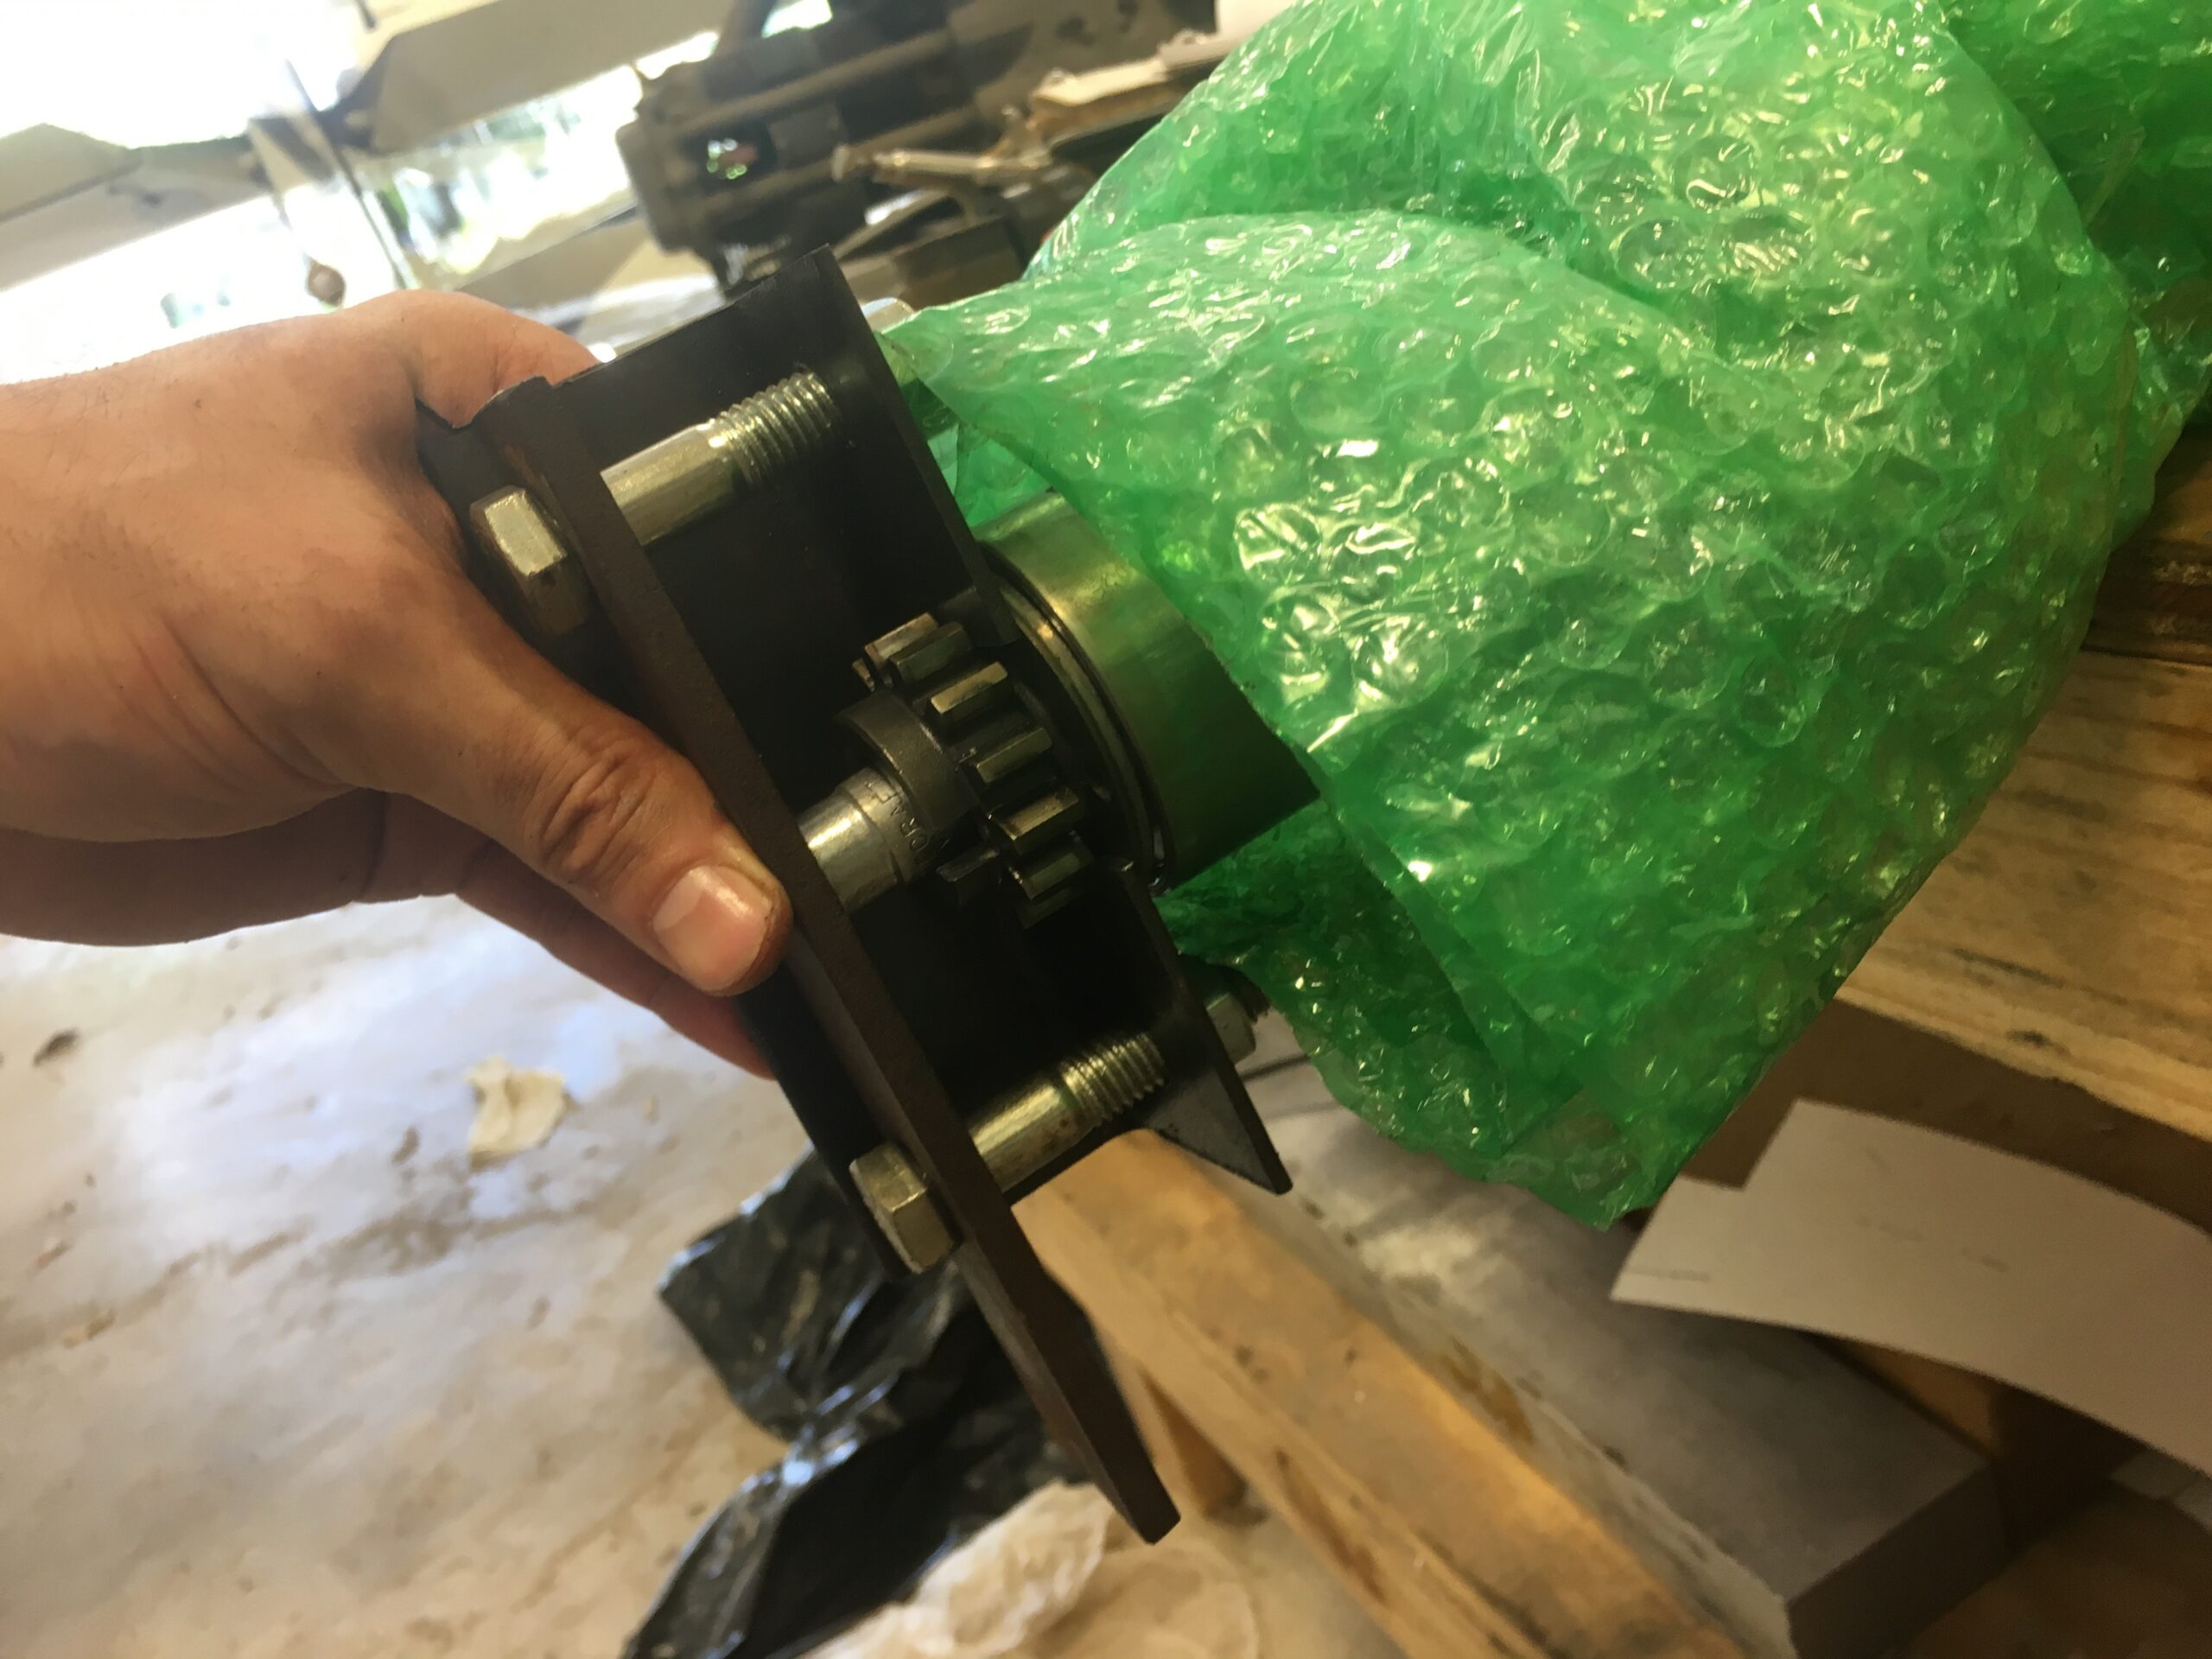
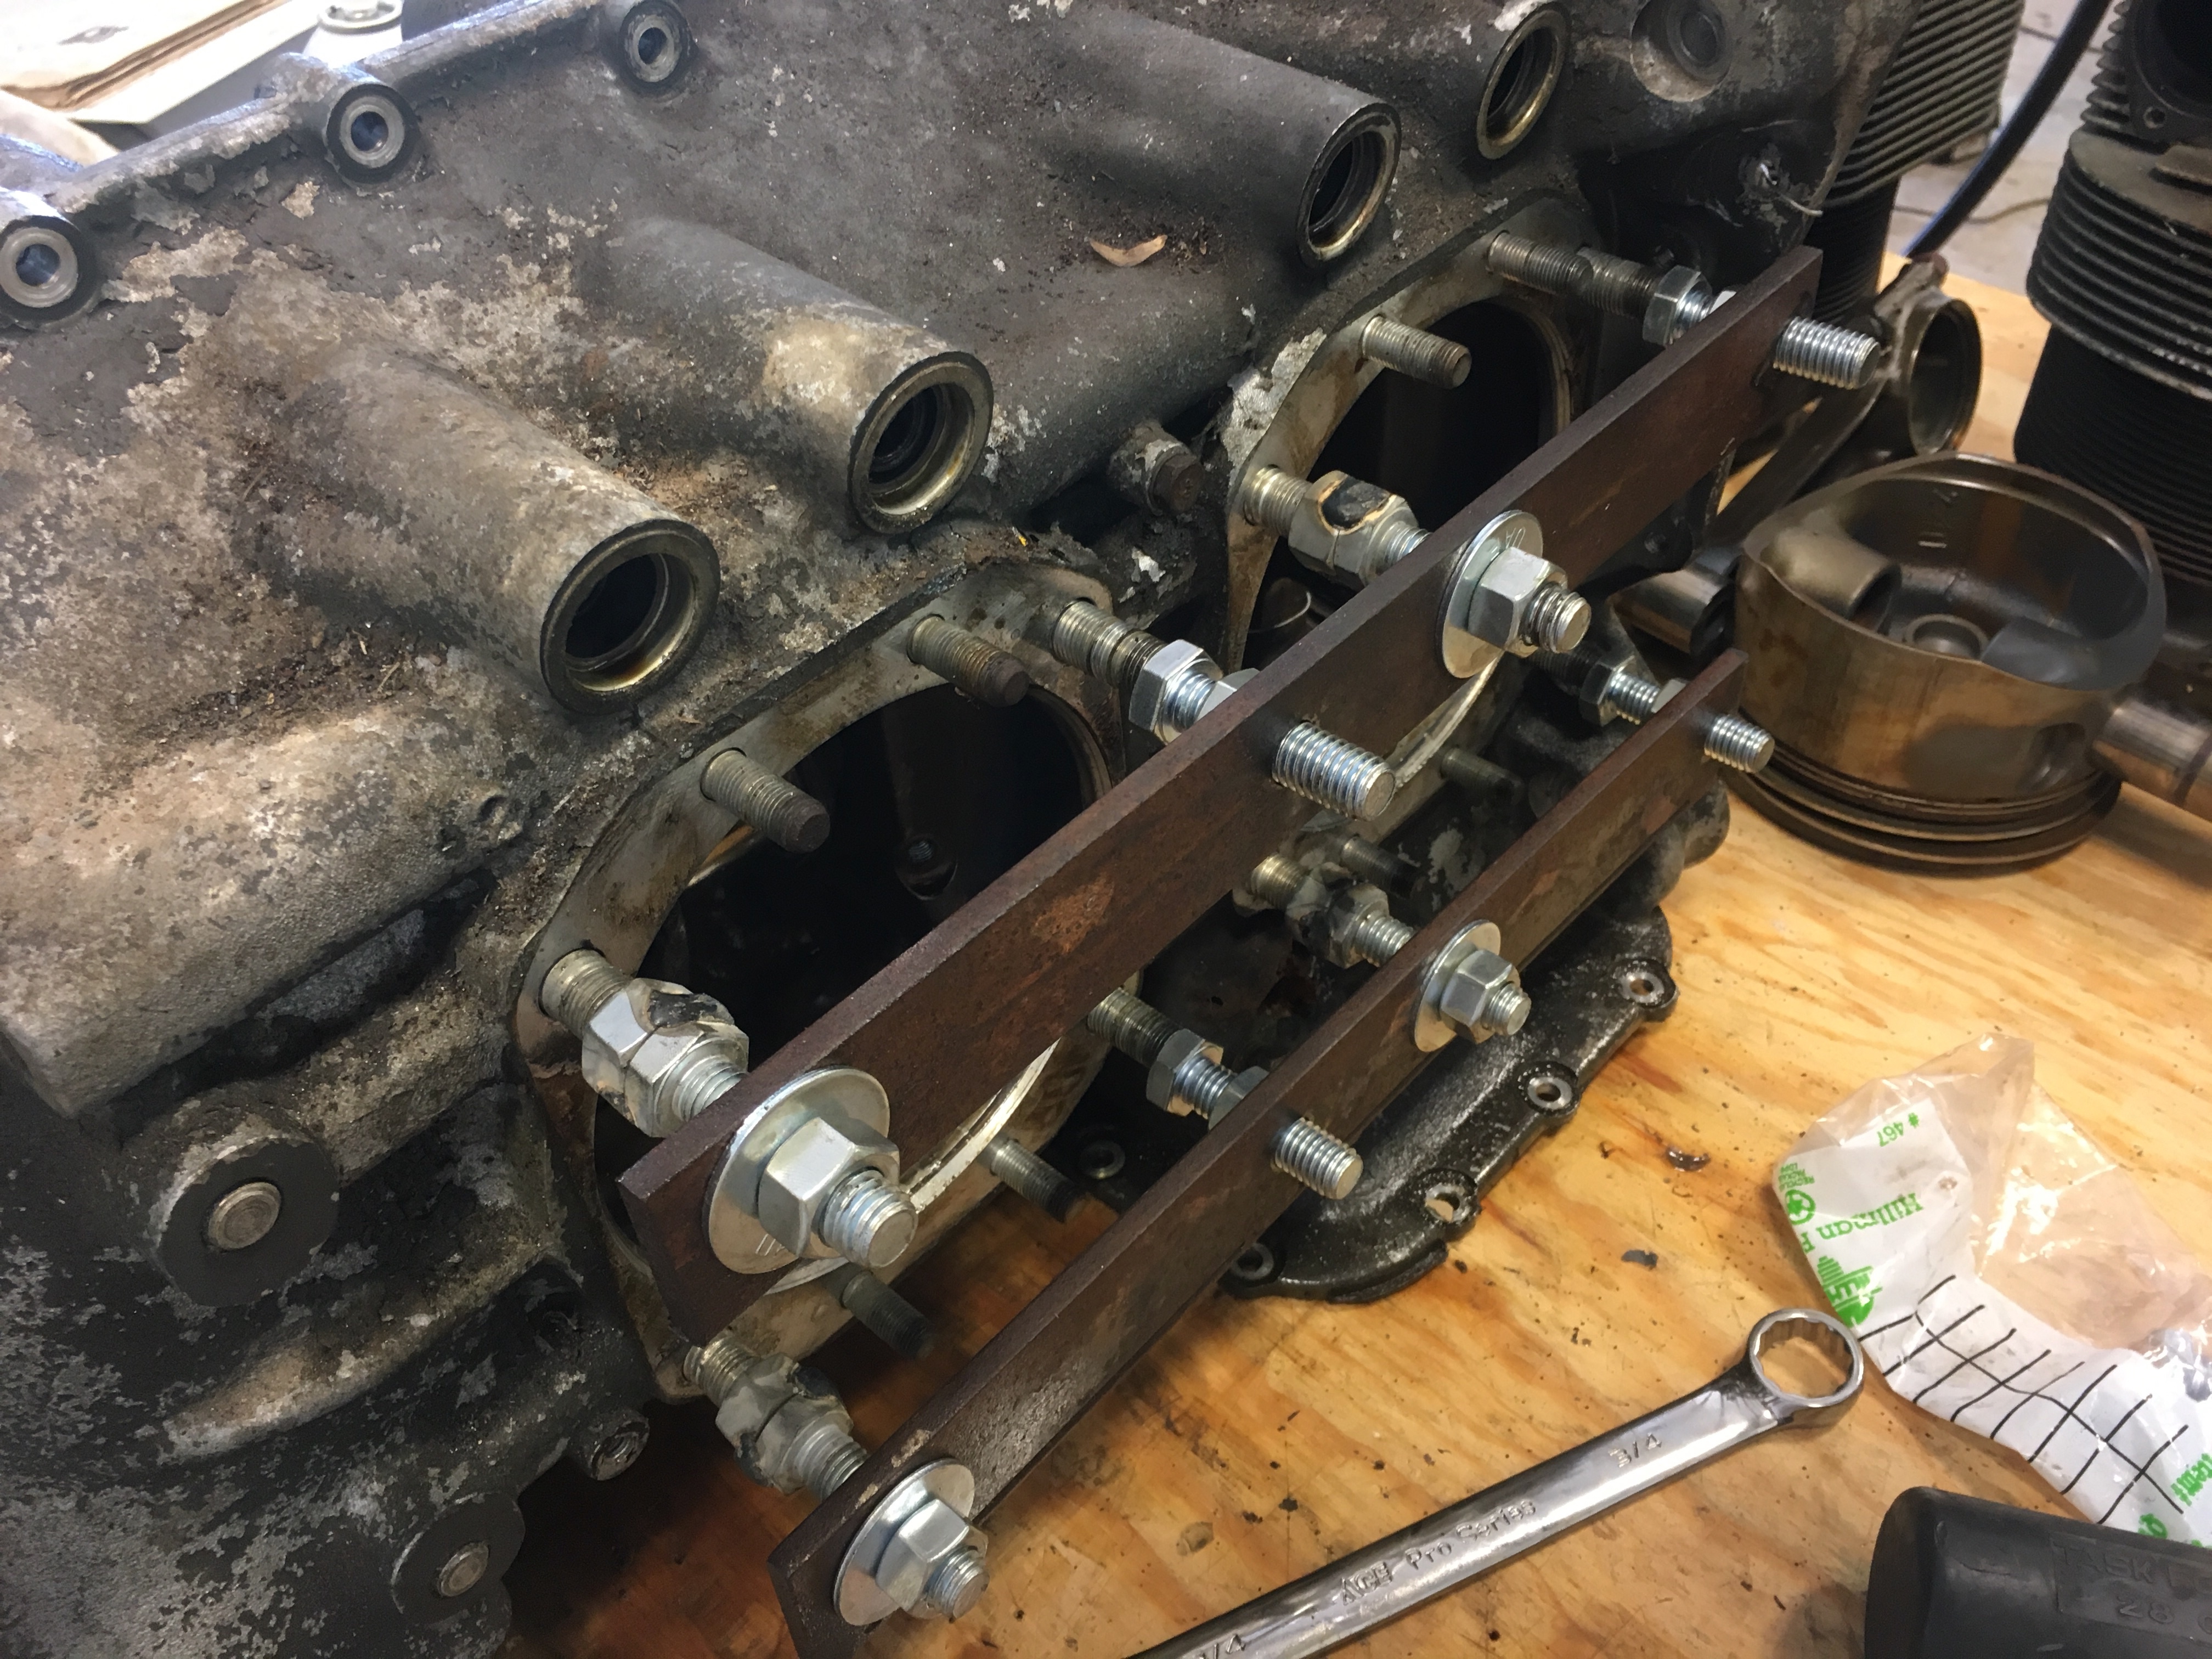
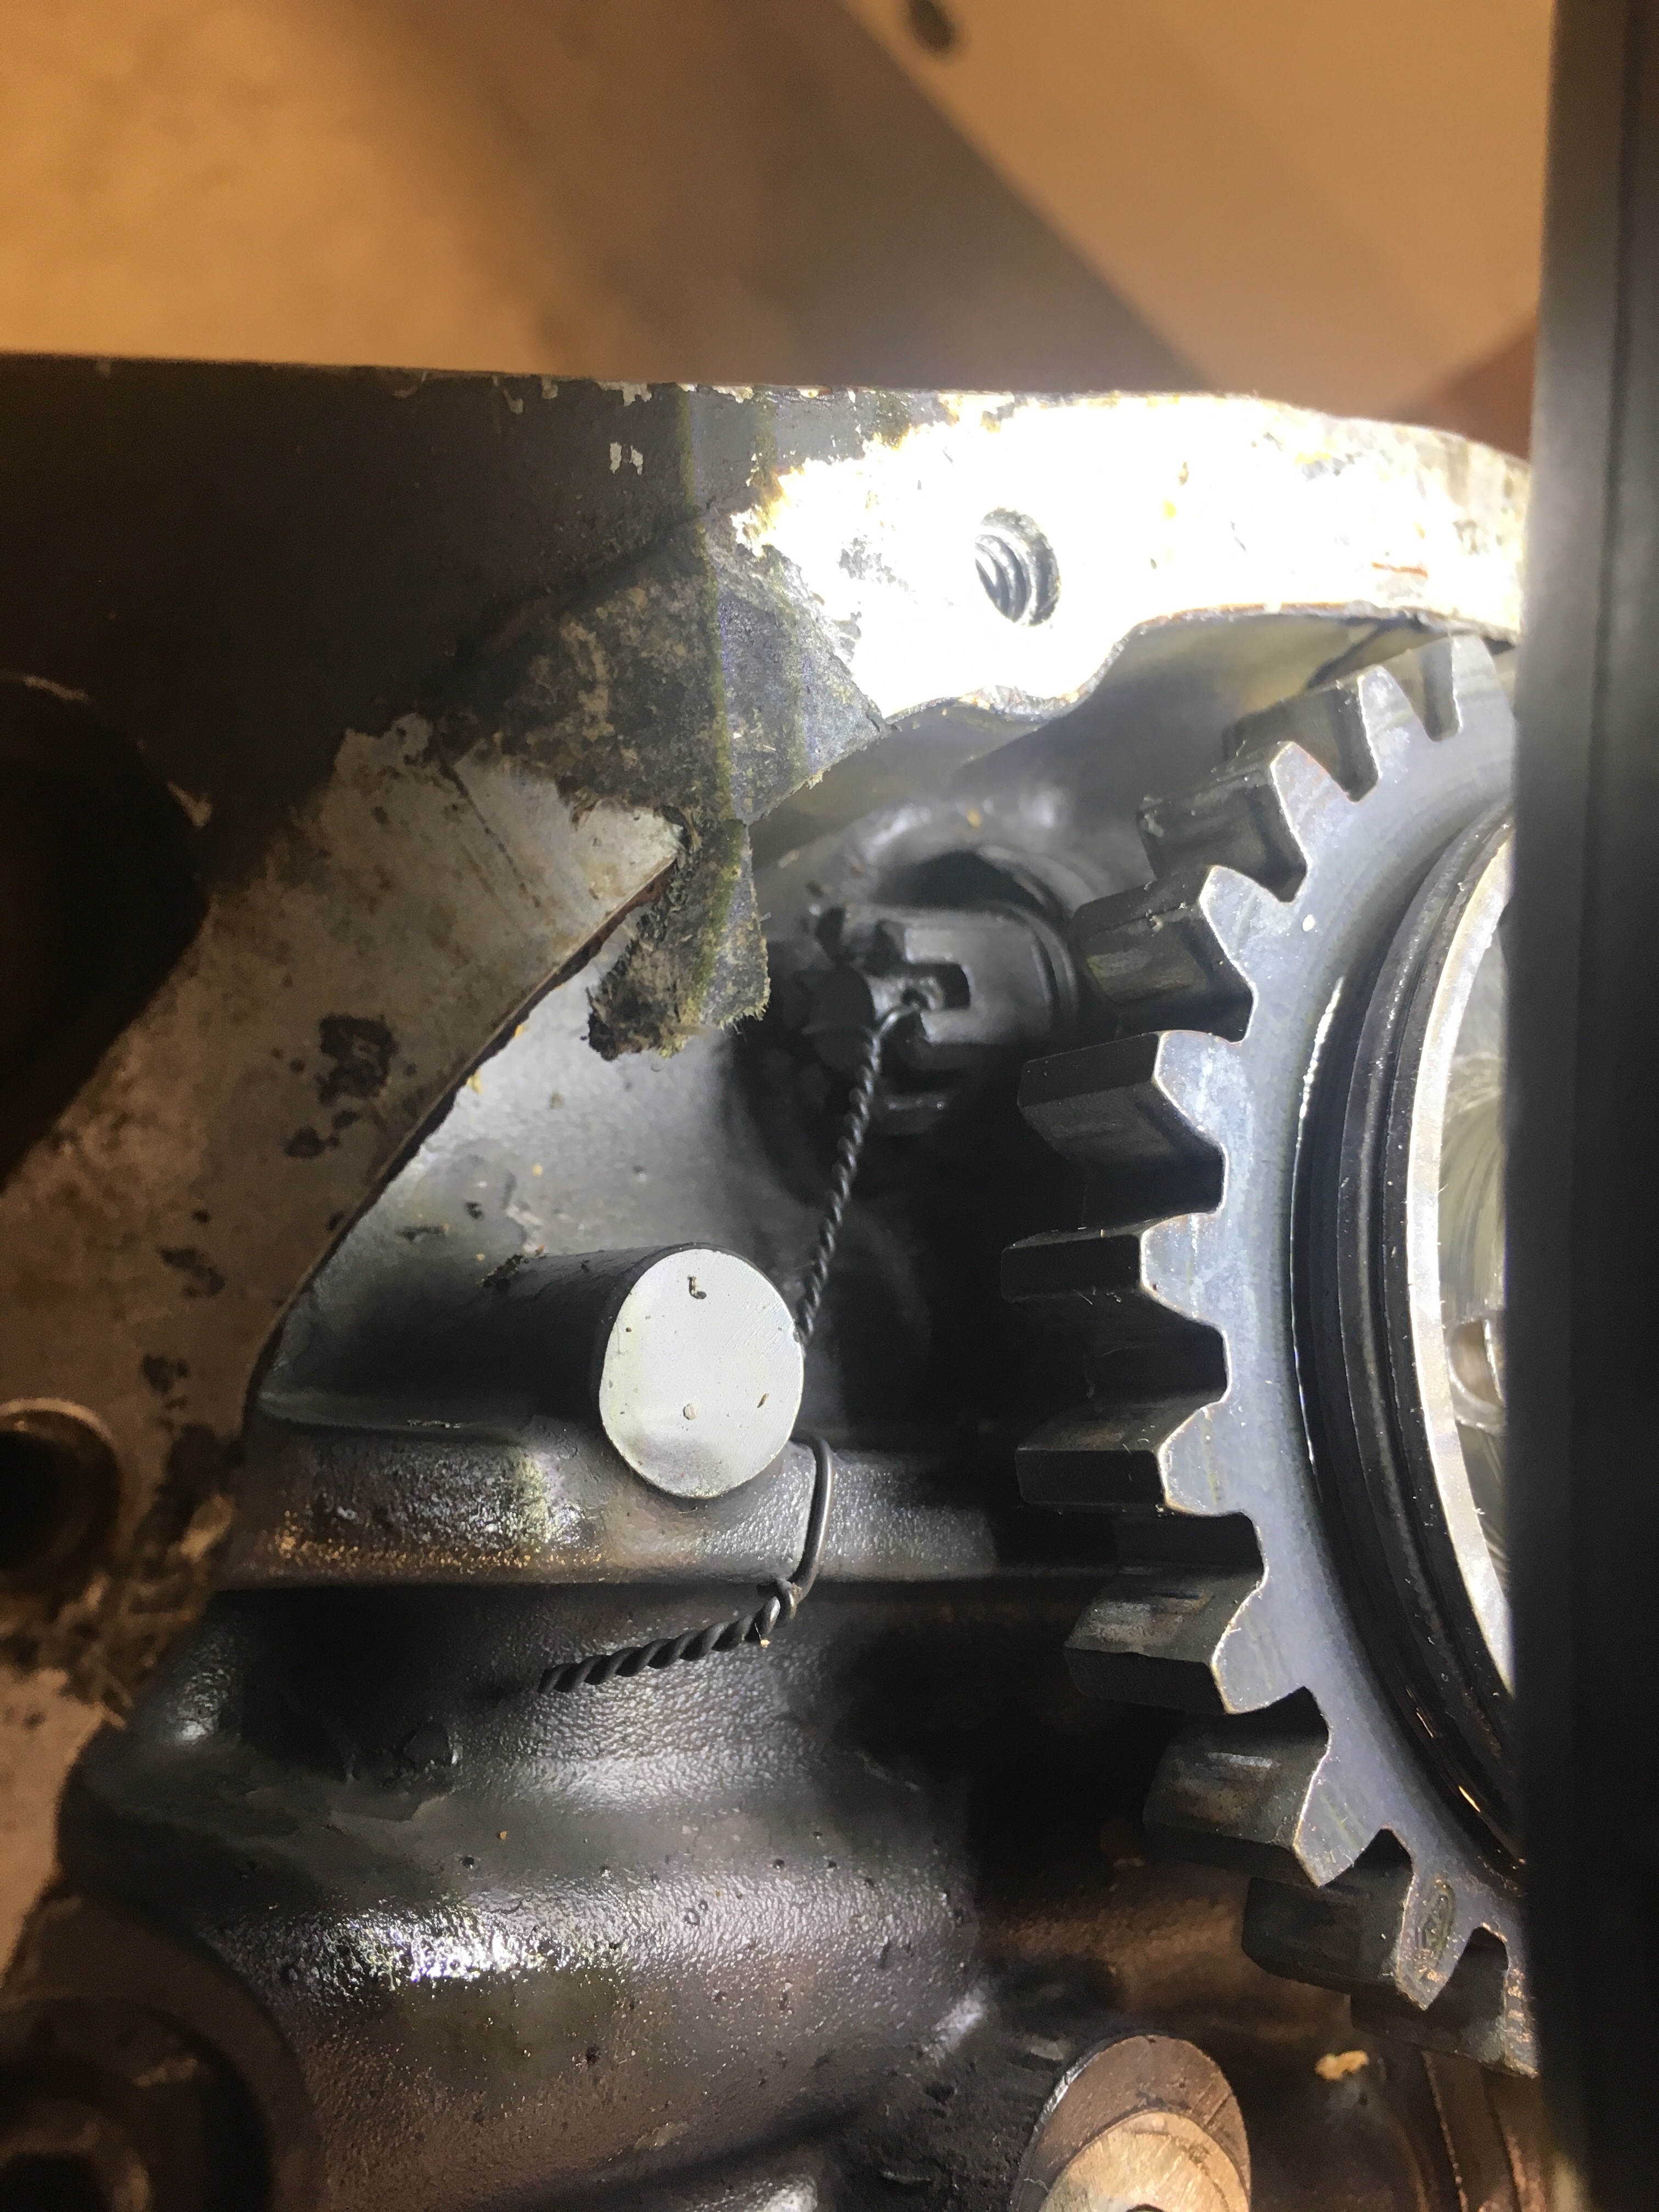
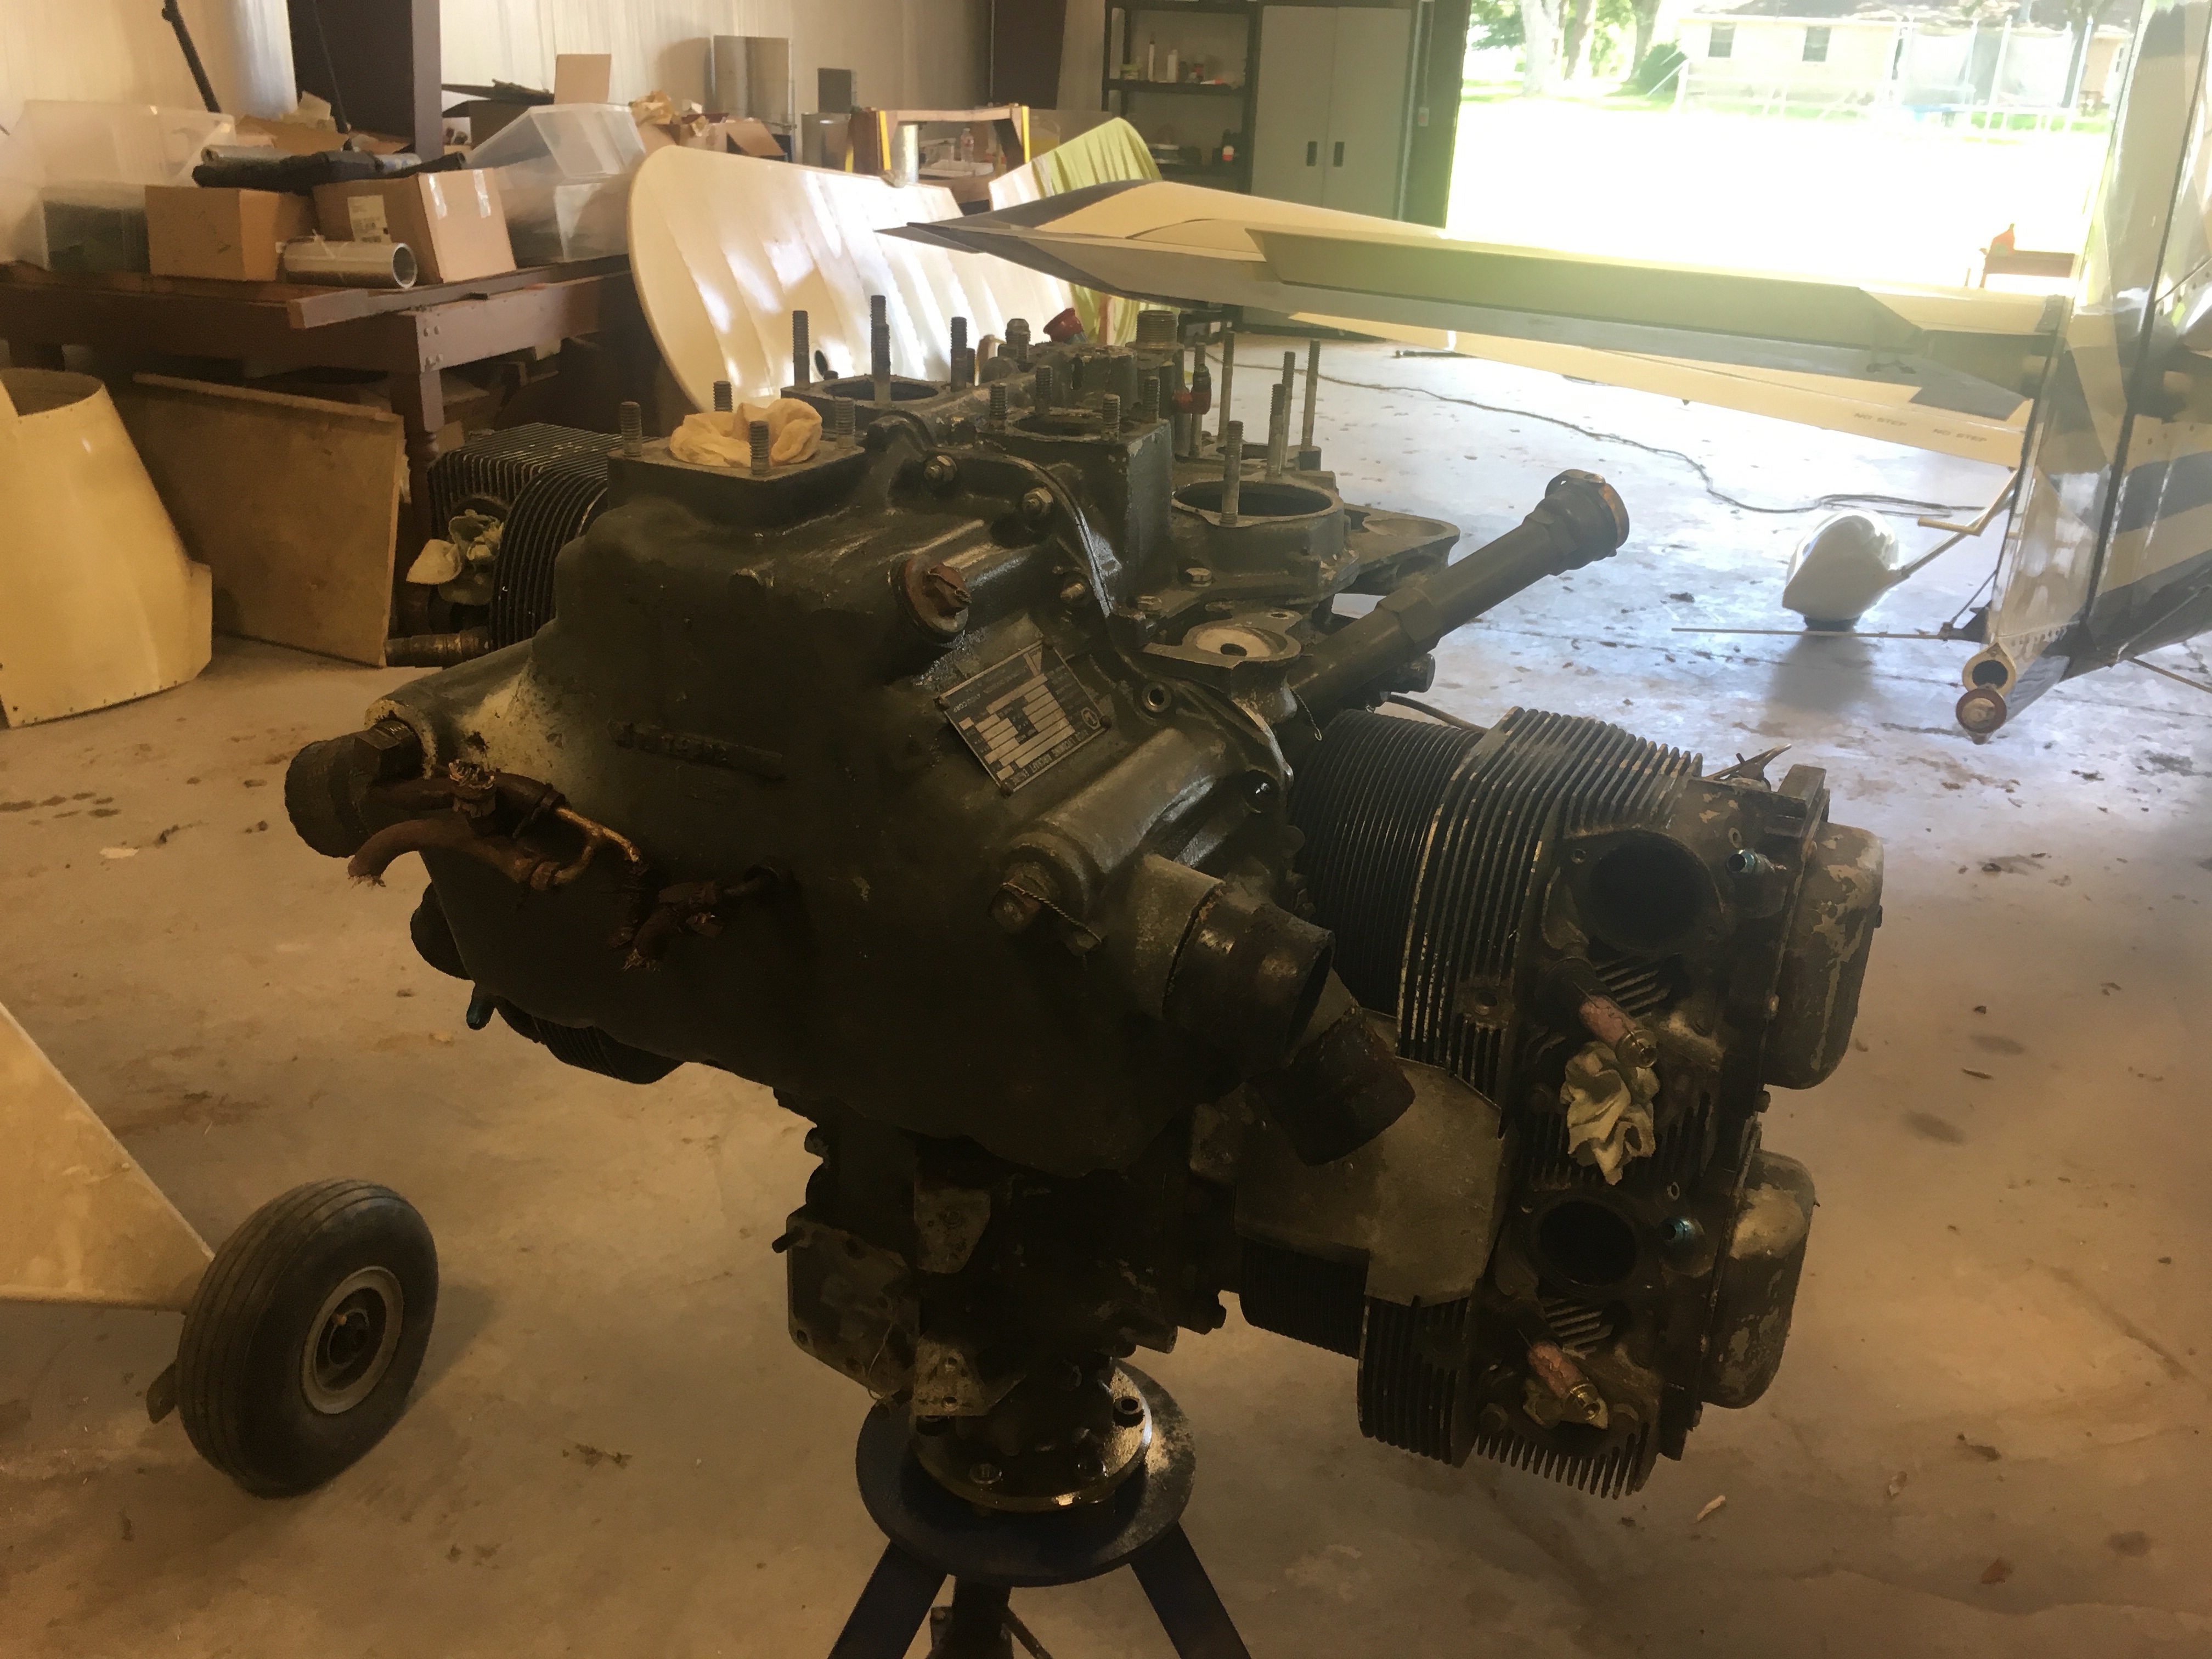
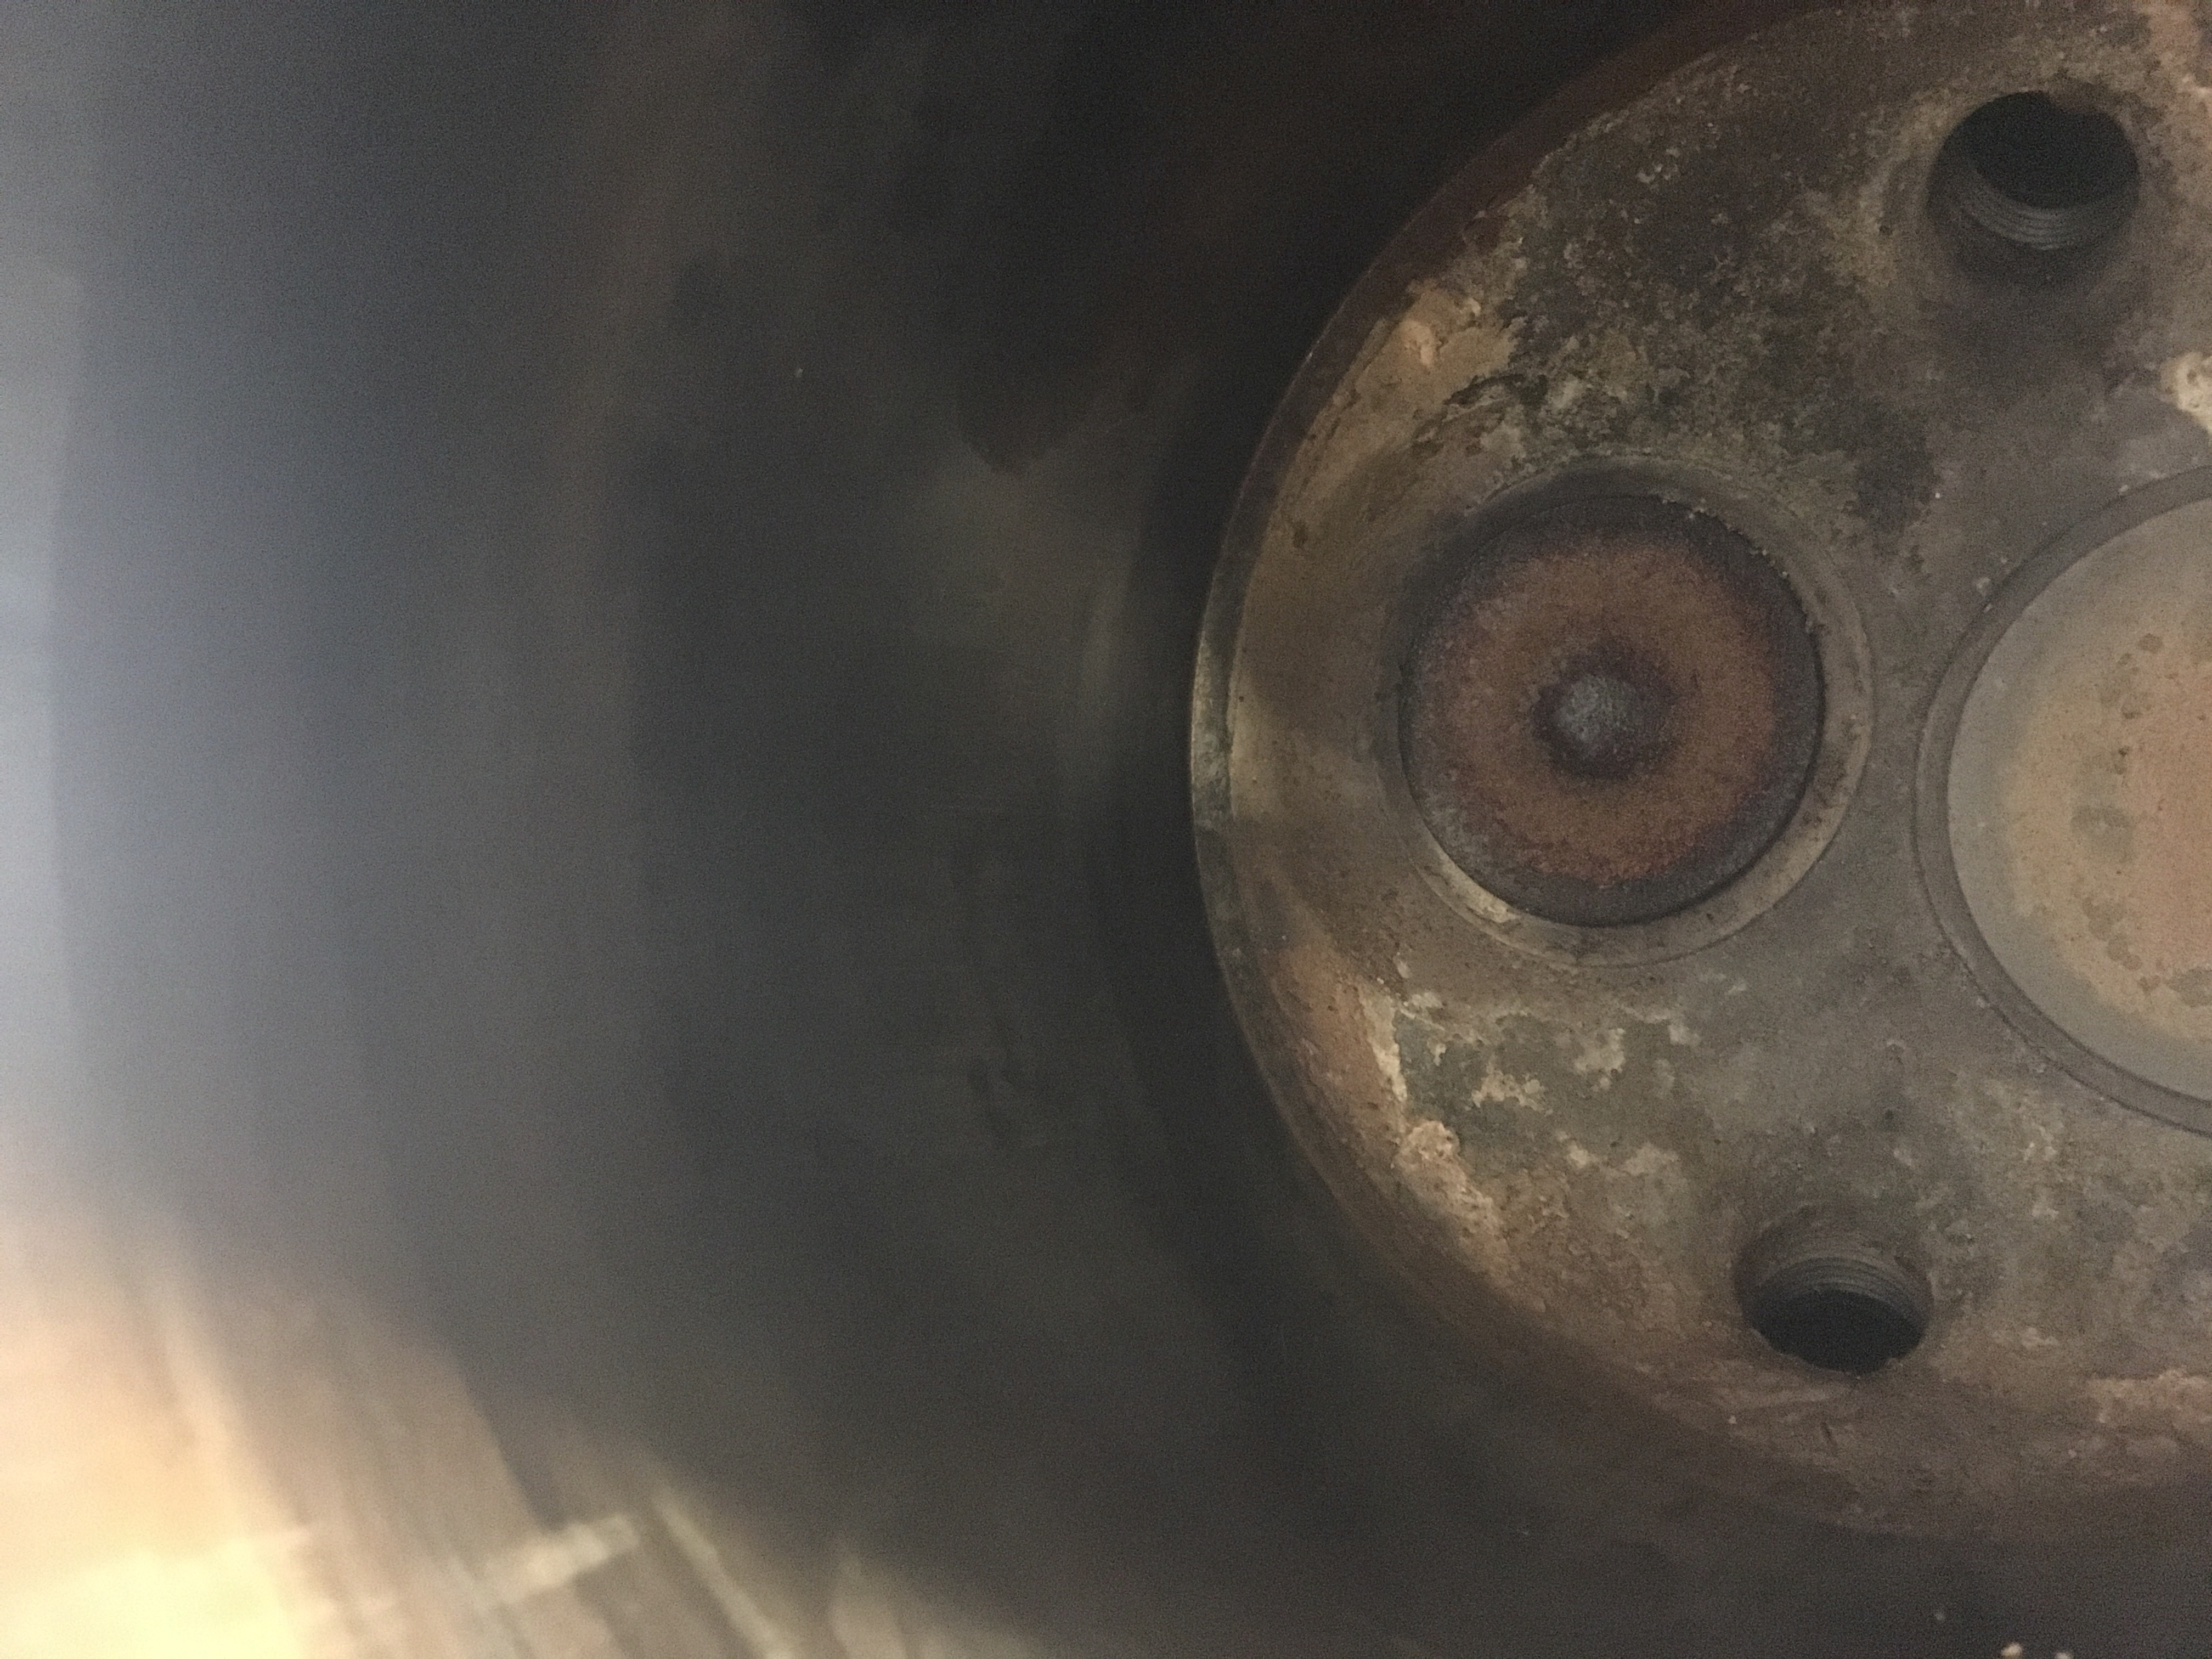
I just thought the gearbox cover and the sump where hard to separate.  The crankcase halves were going to drive me crazy.  I spent the morning taking all the bolts off and tapping on it with a rubber hammer and nothing budged.  I saw in the overhaul manual where I needed this “Pressure Plate” to separate the crankcase halves.  Six of the cylinder hold down studs go all the way through both crankcase halves.  They act as dowel pins and they like where they are and don’t want to move.  I took some time, went home to cool off and eat lunch.  I looked up this “Pressure Plate” tool and found one for sale for $12,000!!!!  They must be absent from their sanity.  It’s a metal plate with six holes drilled in it.  It must be made from unobtainium.  On to plan B.  There are some $1000 tools that can be bought for this purpose but that seems a bit out of reach too.  After some Googling around I decided to build my own.

Thankfully the local hardware store was open today (Memorial Day) so I was able to get some 1/2-20 nuts to use to make a tool.  This is what I came up with…

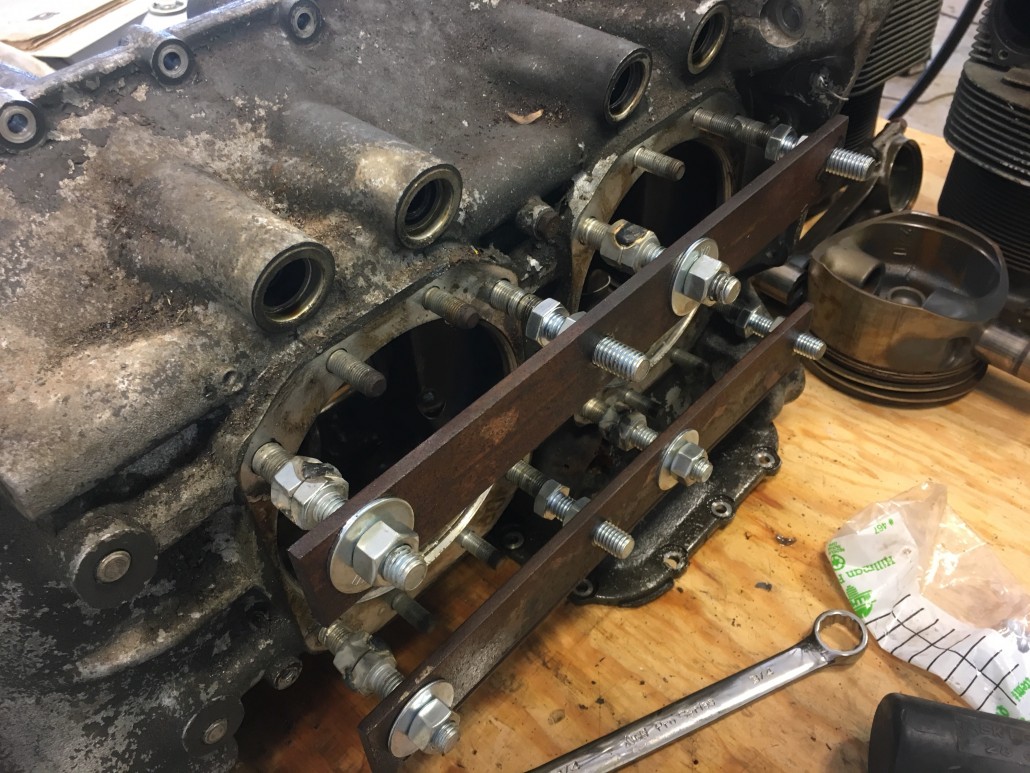
I had some 1-1/4 x 1/4 bar stock laying around so I used it.  It worked but 3/8″ thick would have worked better.  It deflected quite a bit, but was able to put enough pressure on the studs that a “gentle” tap with the rubber dead blow hammer was able to liberate the case halves from one another.

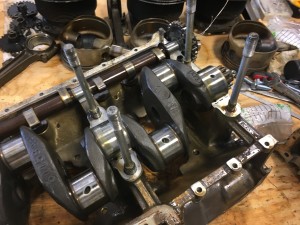
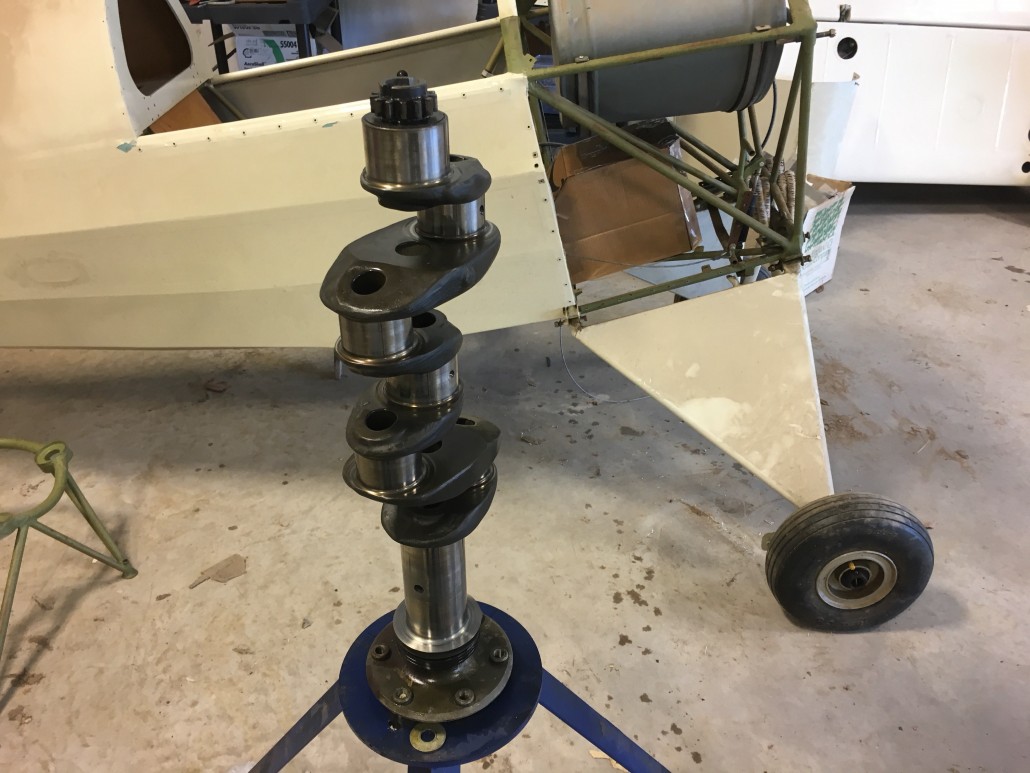
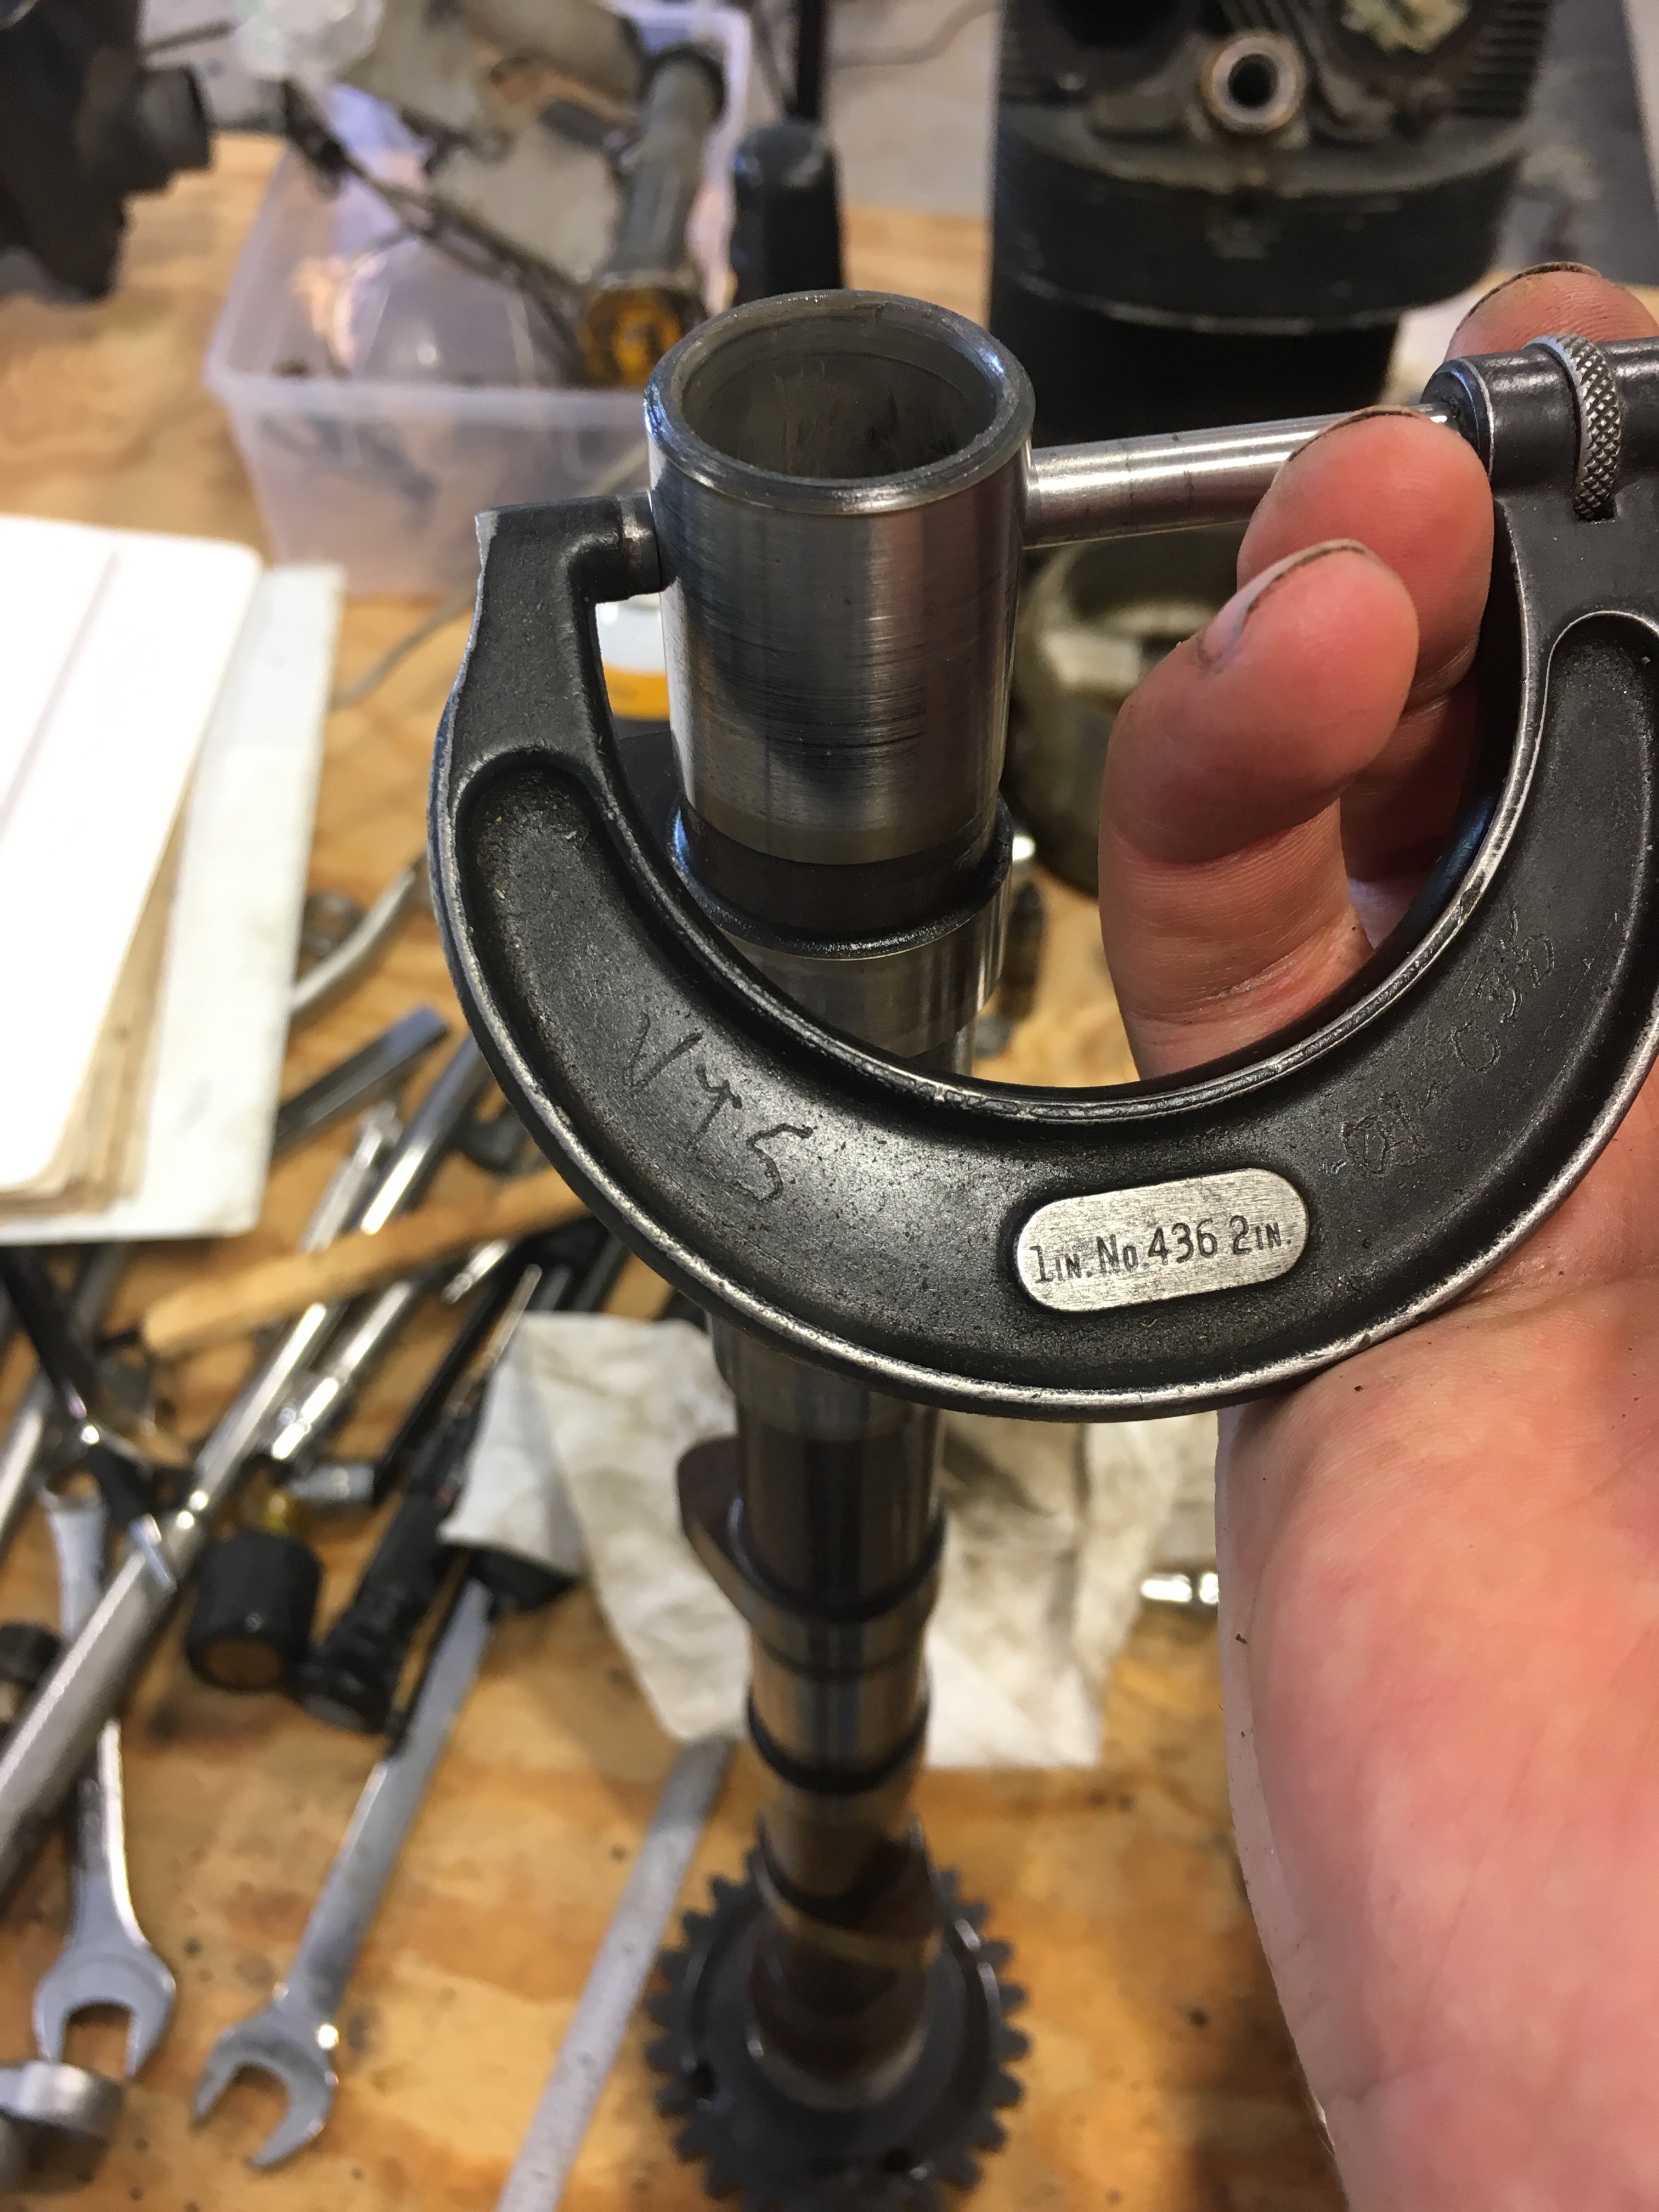
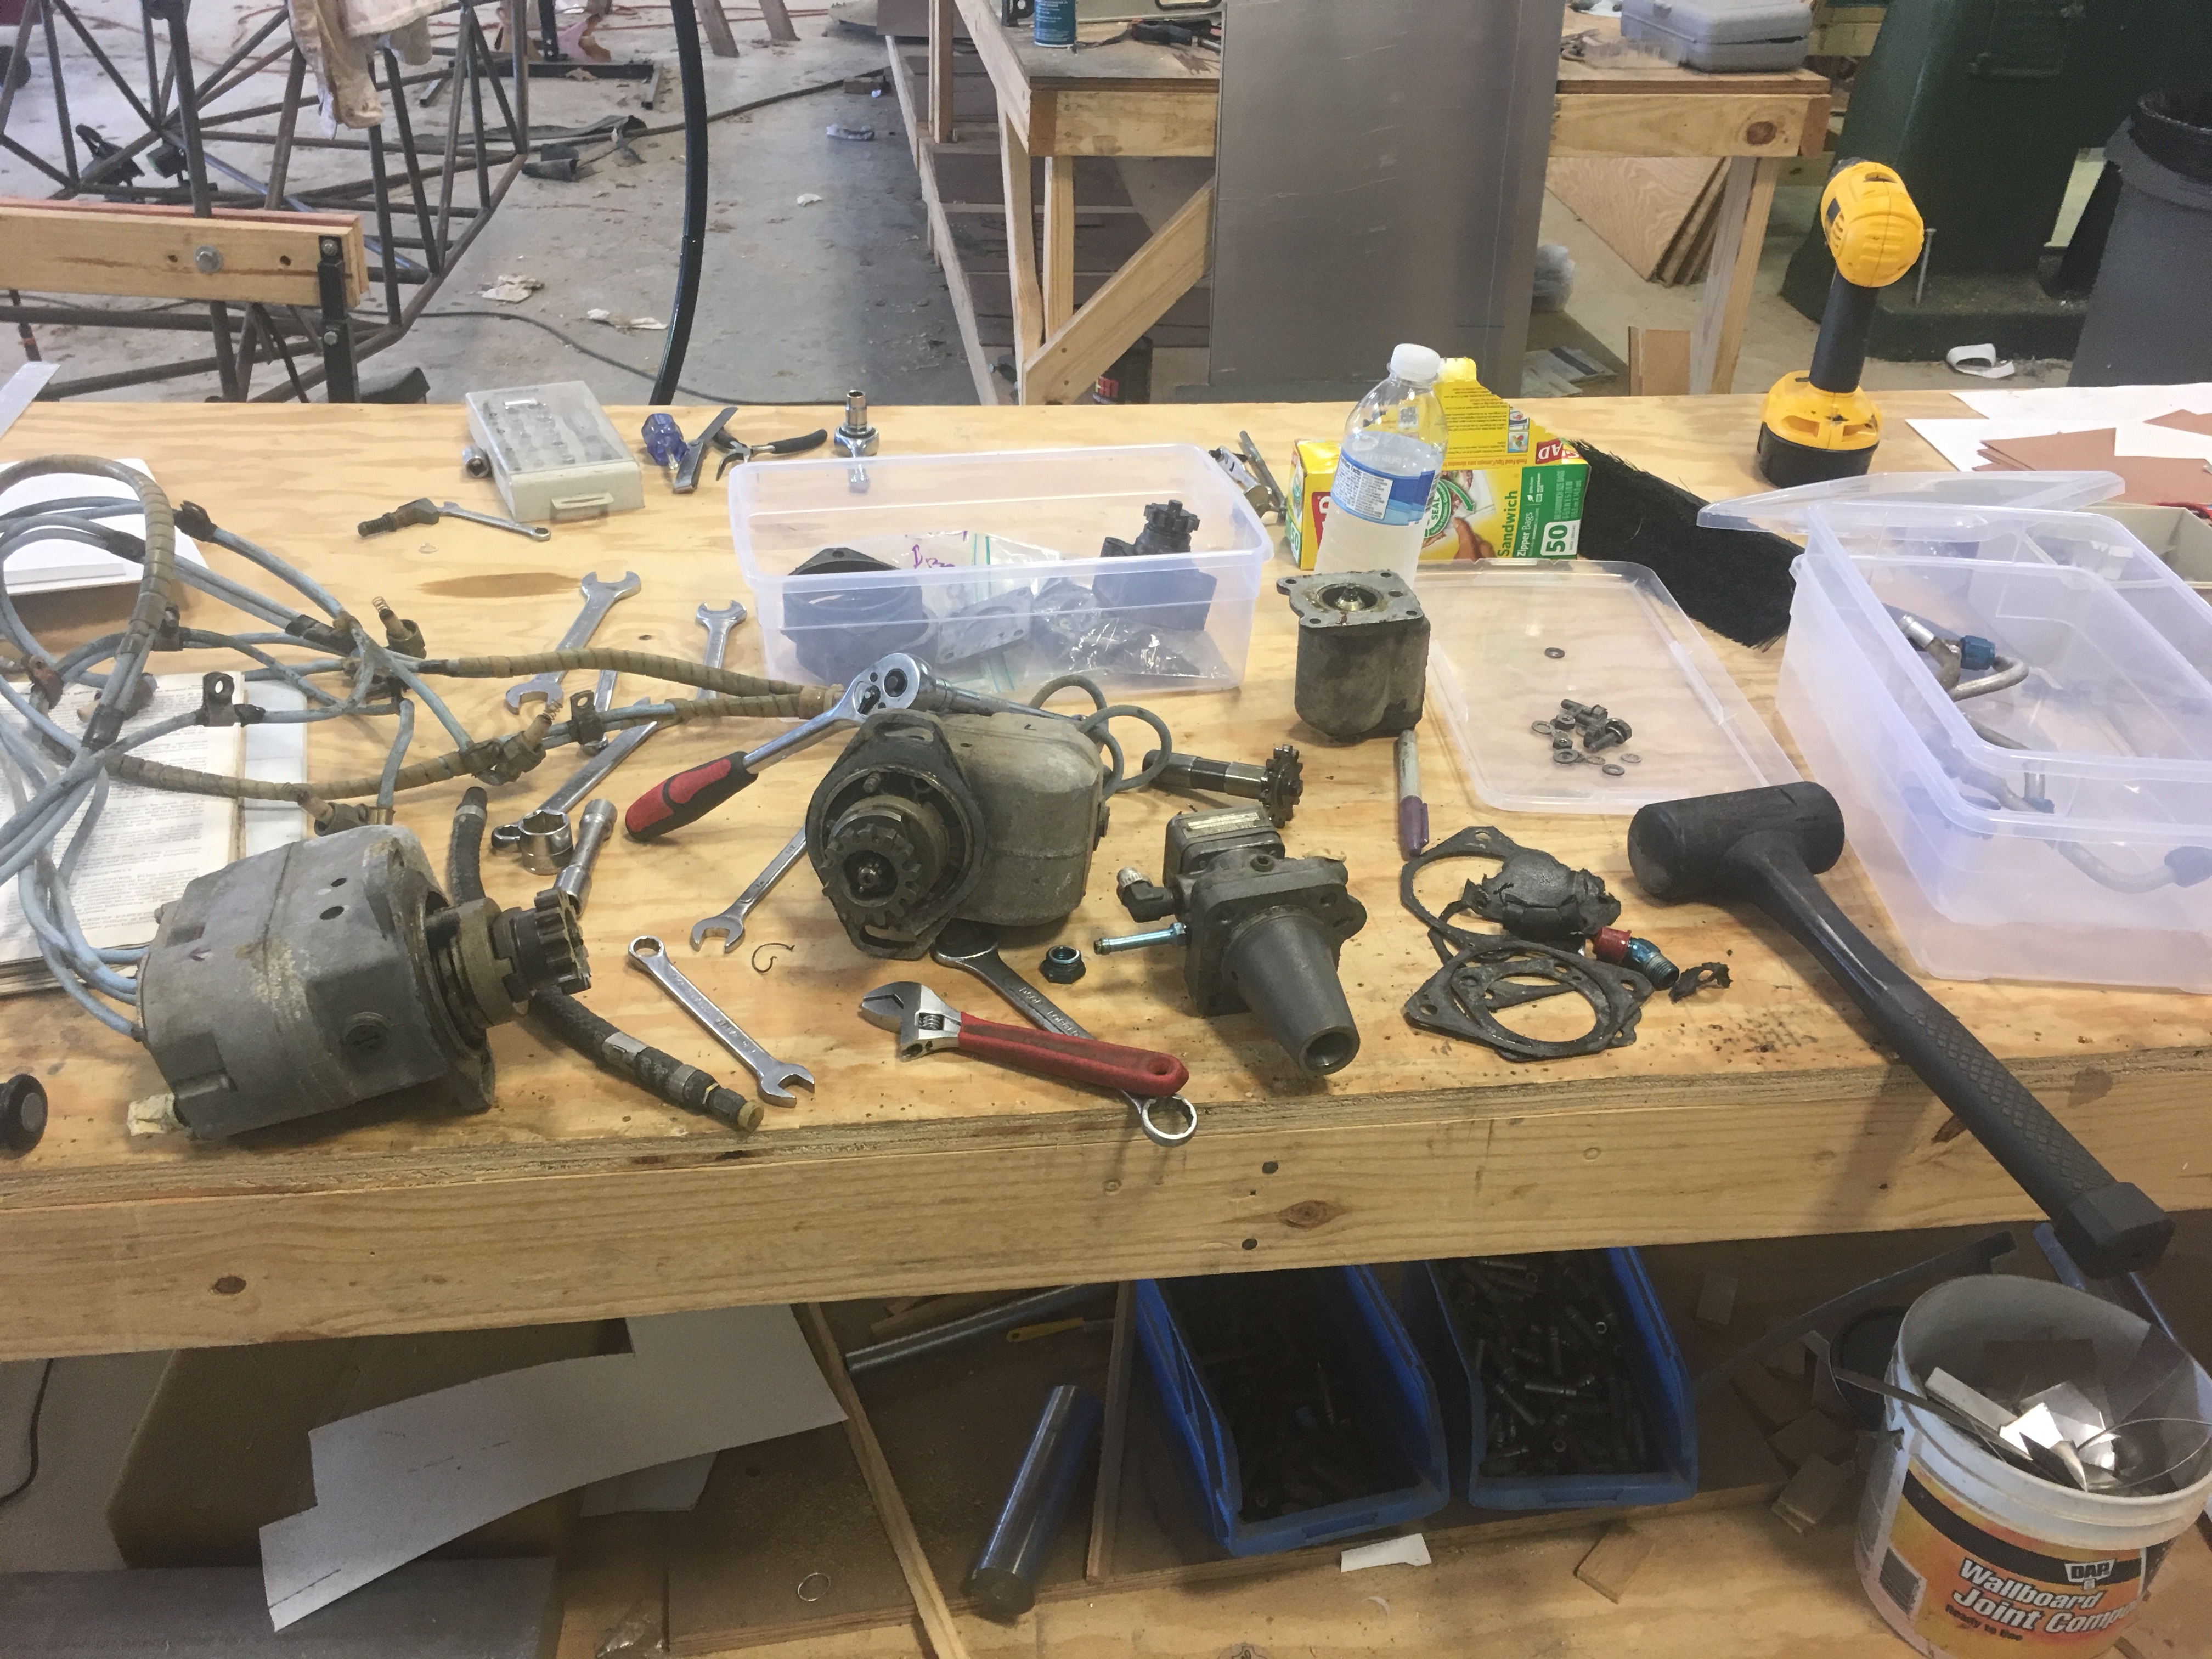
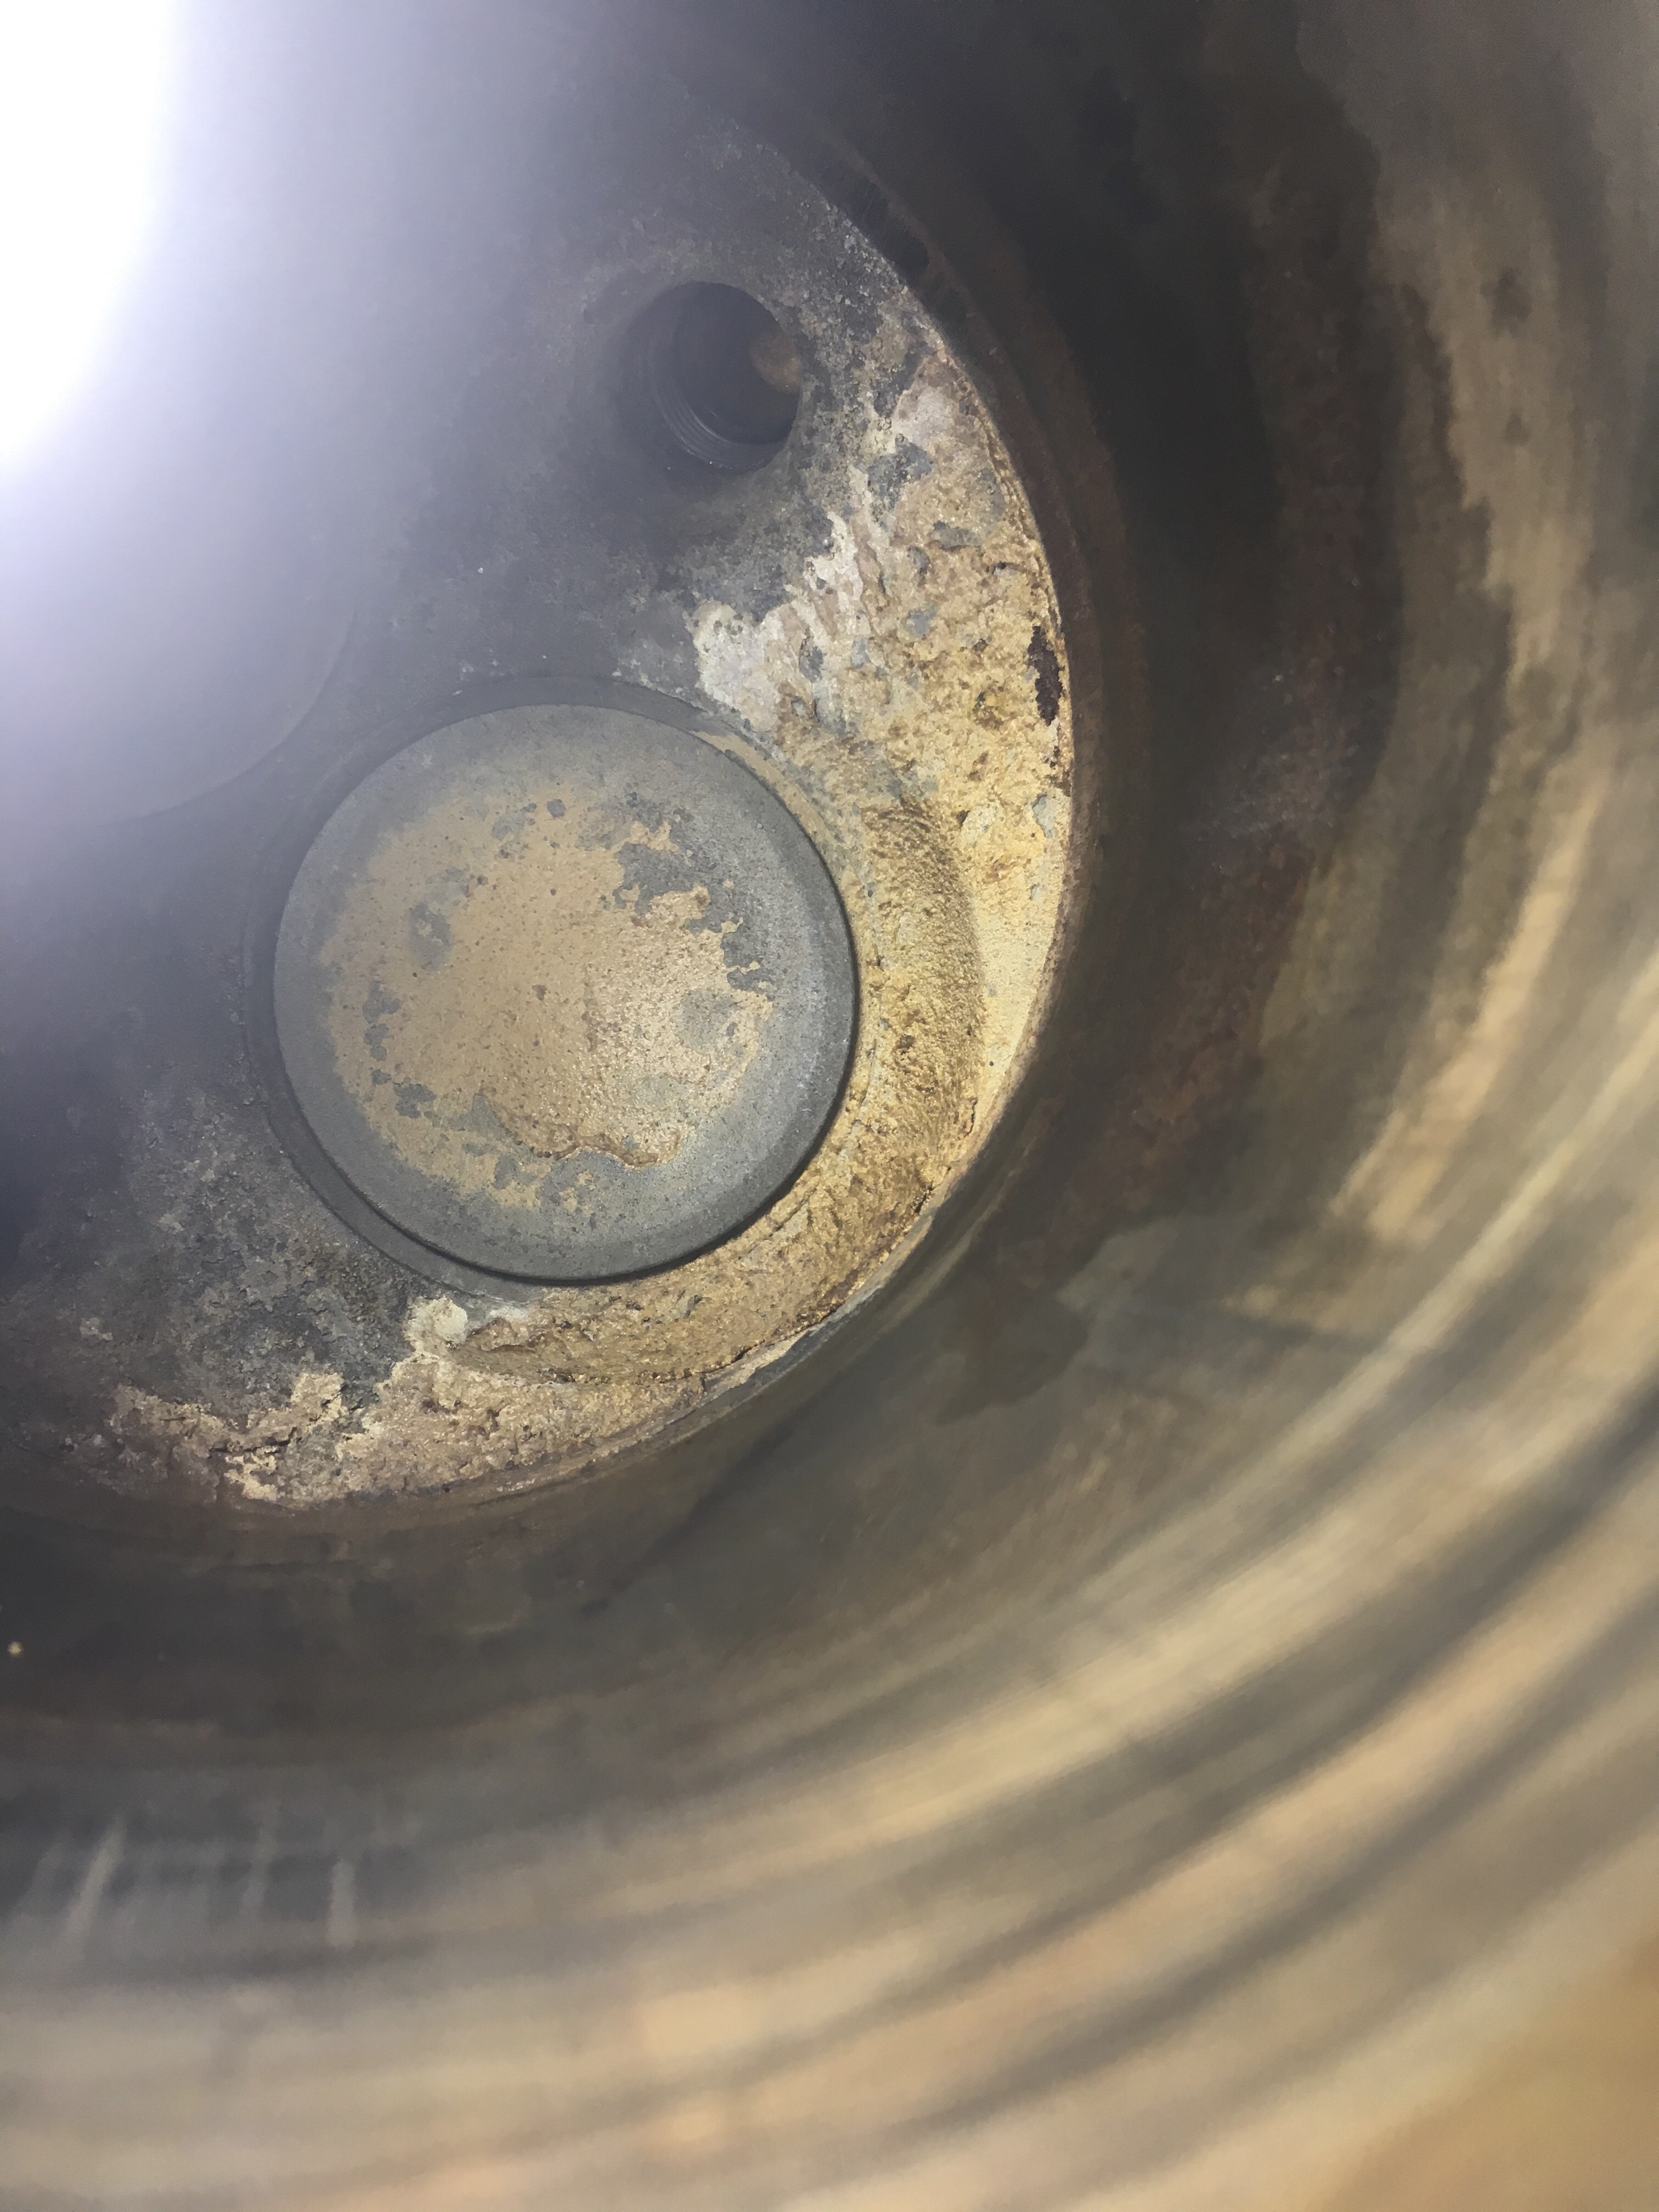
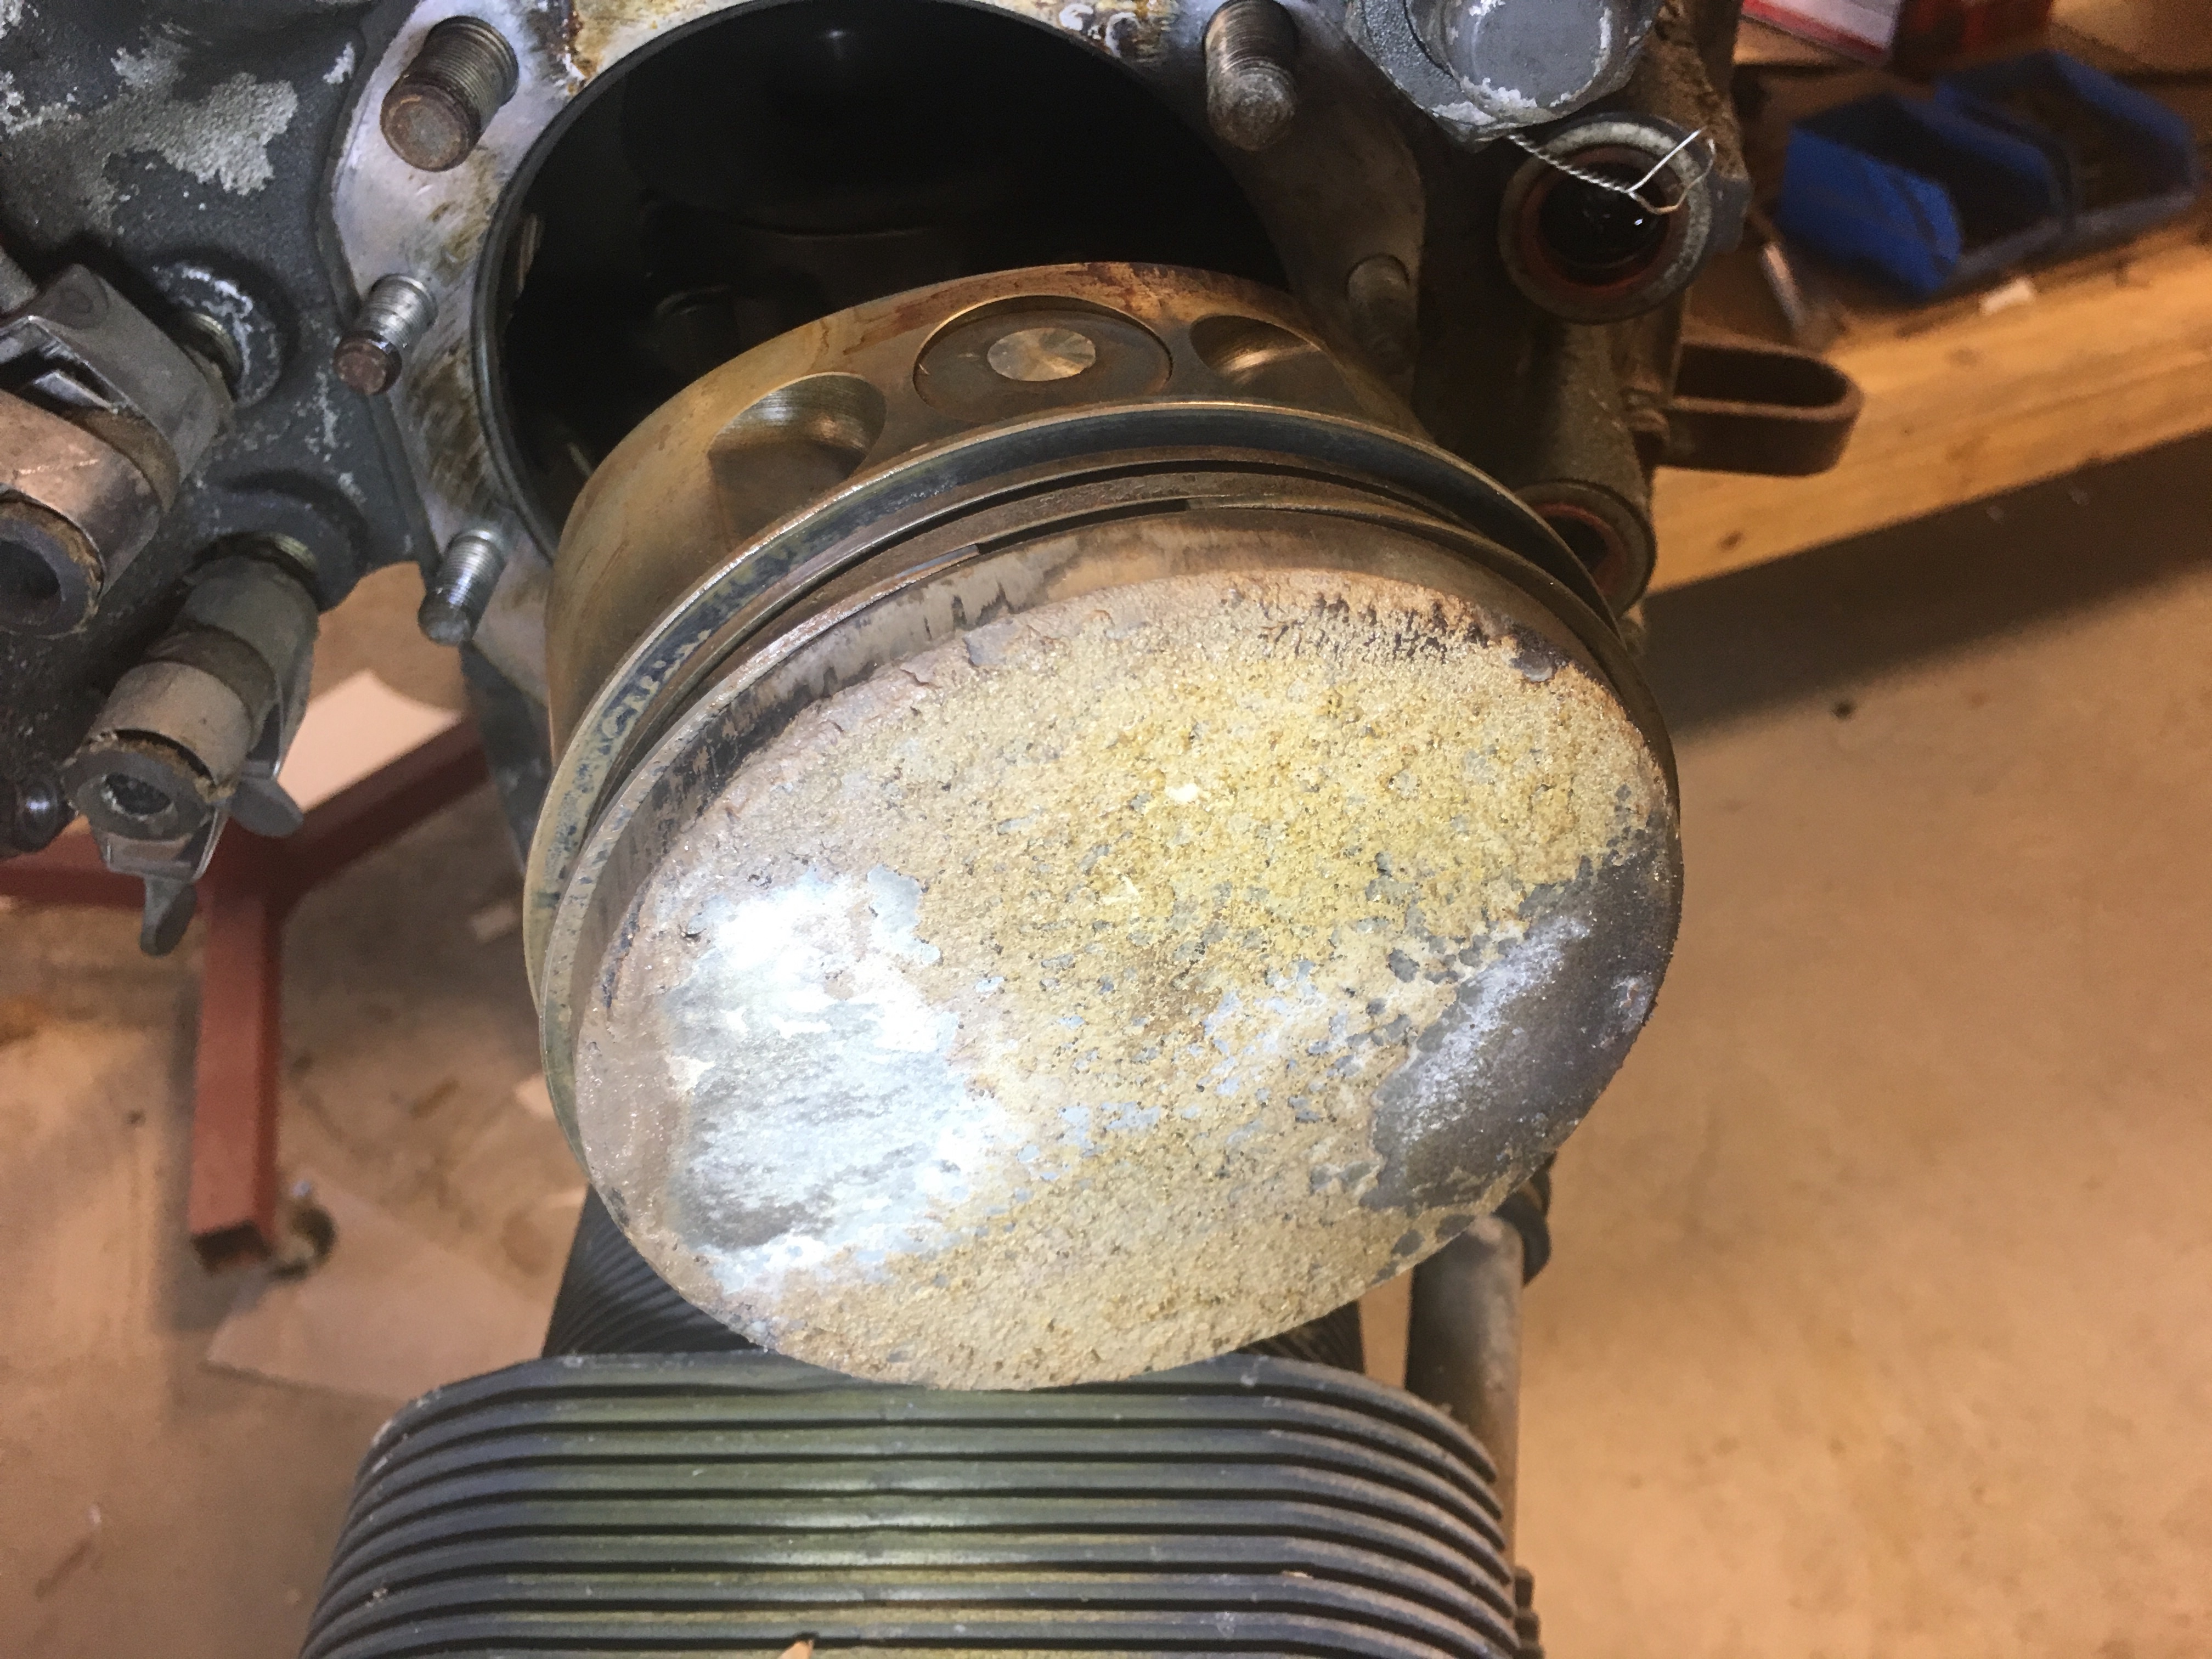
I got a micrometer out and started checking what I could.  The crank looks great and measures out to be right on the money.  I’ll still send it off to have it inspected properly but I’m hopeful that it’ll come back with a yellow tag on it.  The cam looks good, no spalling, pitting or corrosion on it and the journals measure out to be within limits.  All of the tappets are within limits and have no spalling, cracking, pitting or corrosion on them that I can see.

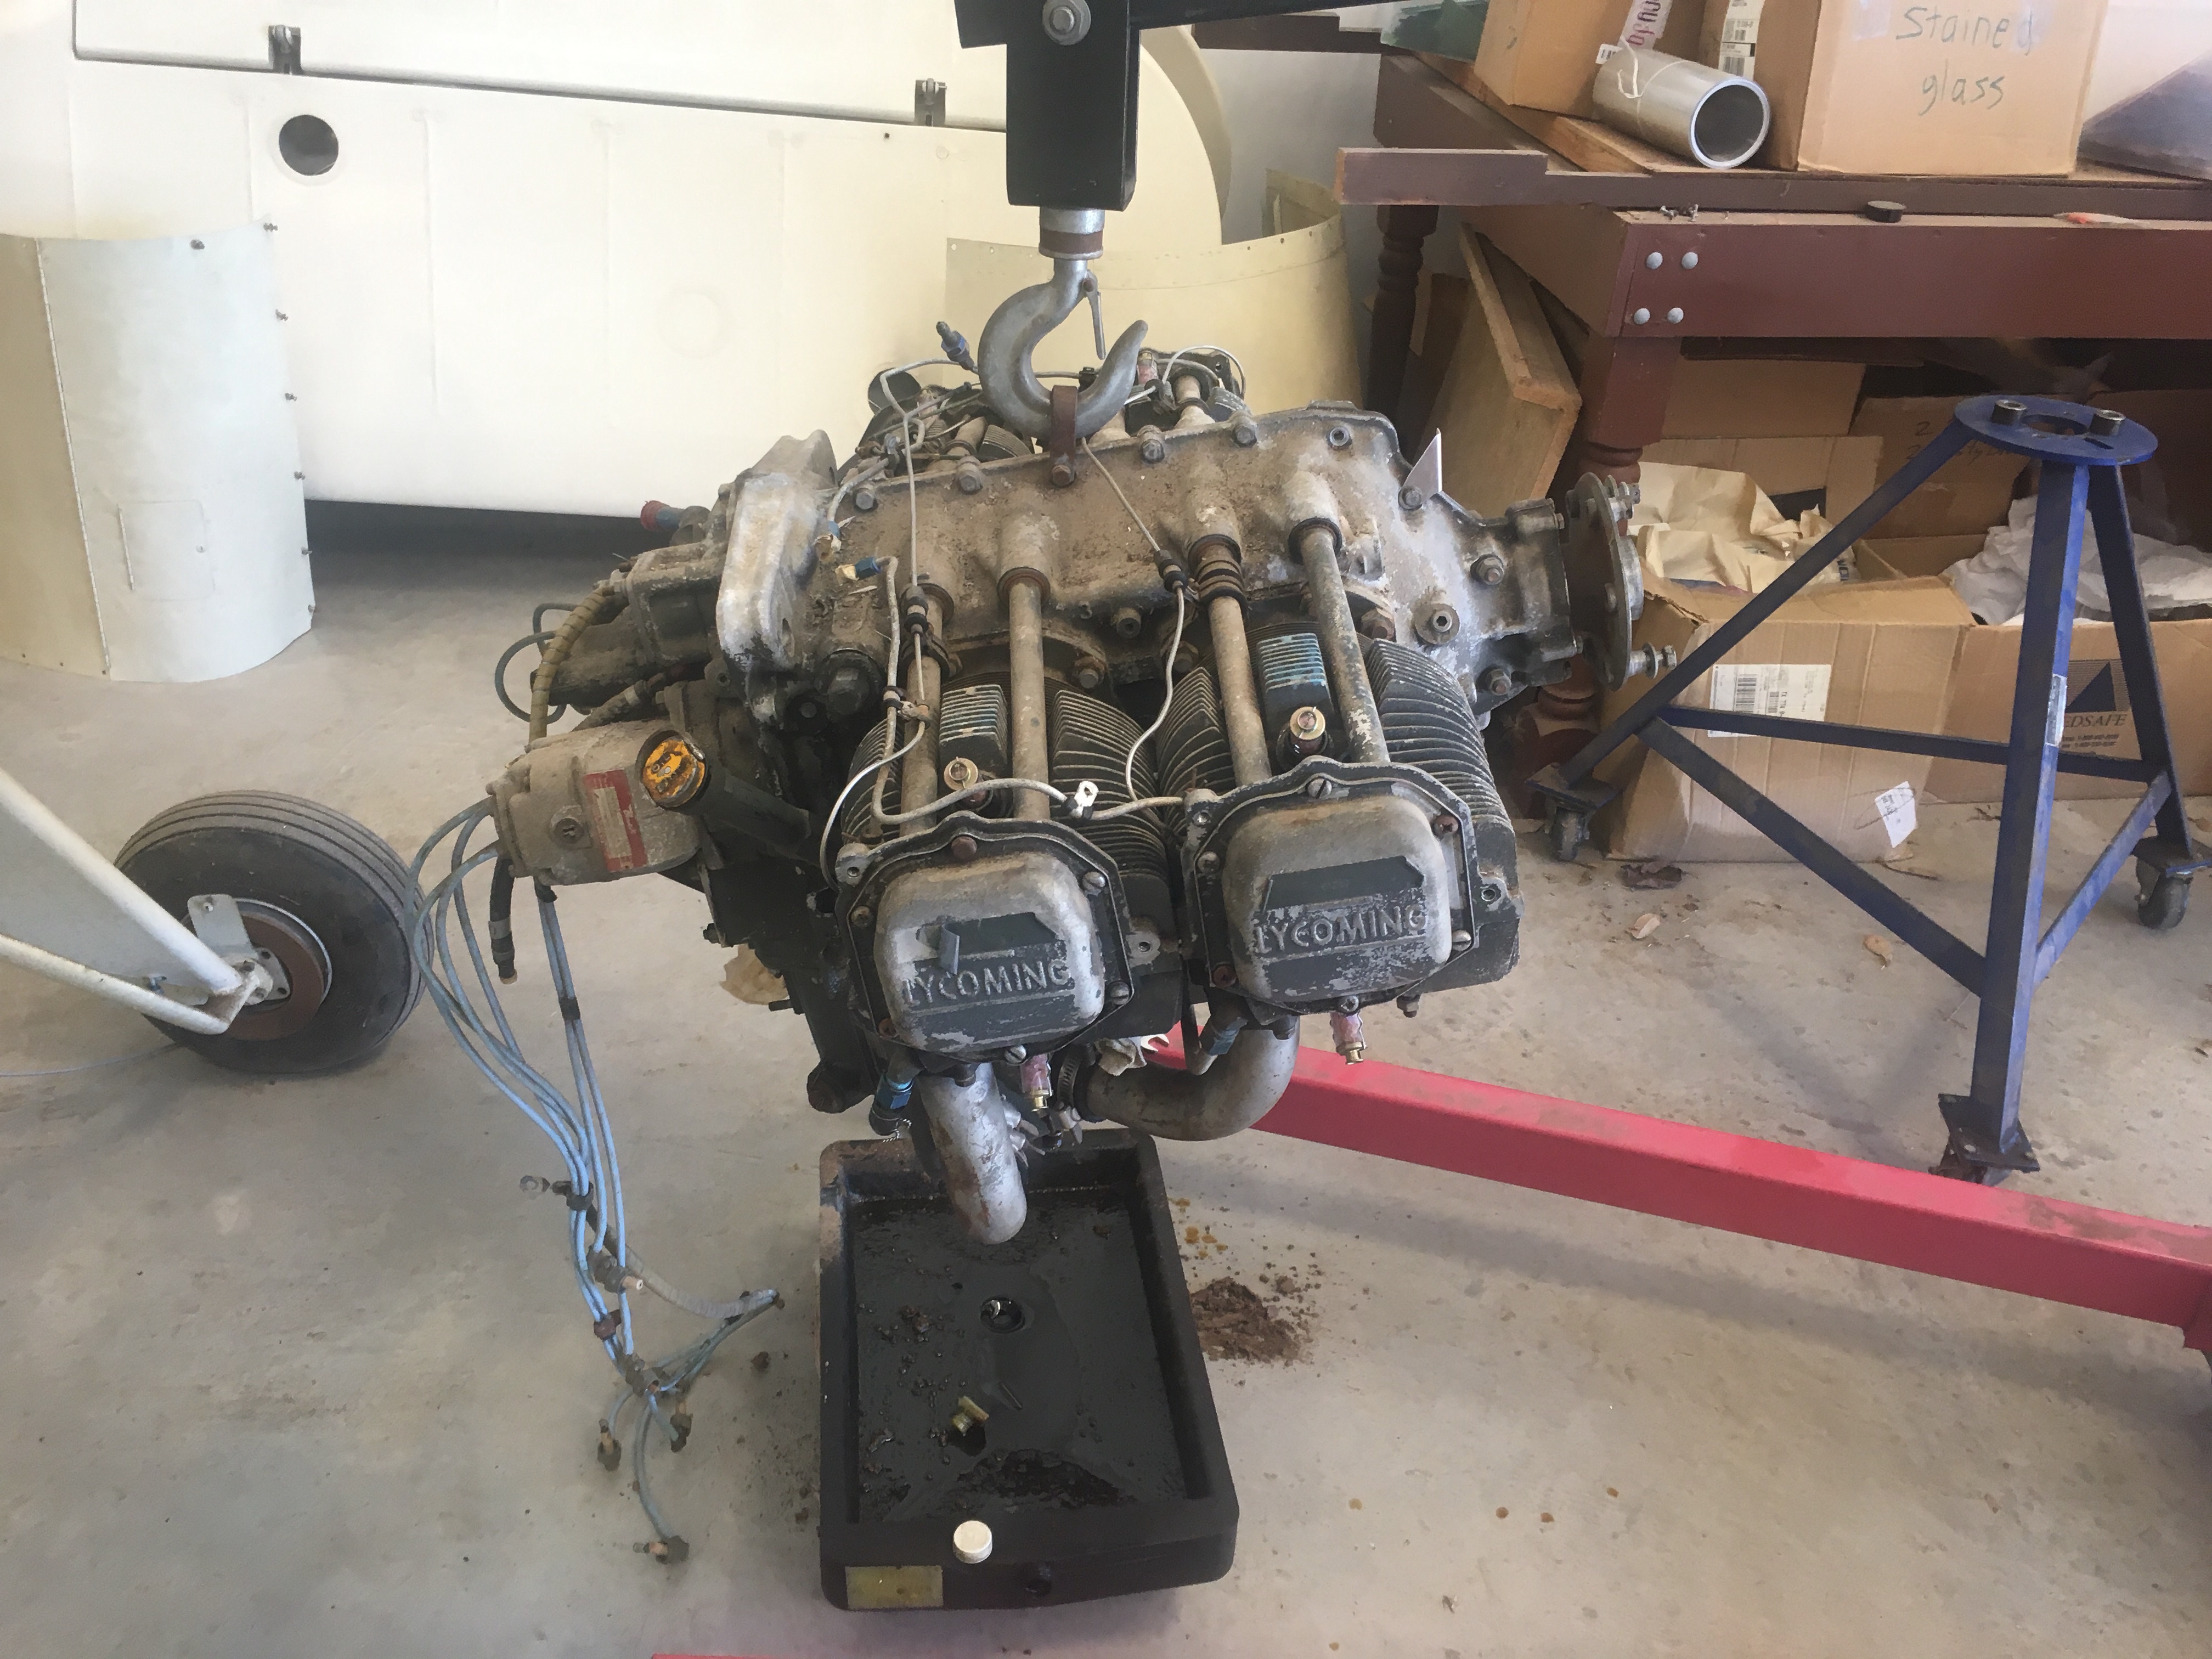
I may have a good little engine here.  We shall see.  I need to get it cleaned up, packaged and shipped off.

Categories
Engine Overhaul

Gearbox Removed

I managed to get the sump and the gearbox off today.  For some reason they were much easier.  I gave the sump one good whack with the dead blow hammer and it came right off.  The accessory gearbox cover took a bit more doing.  I was able to get some plastic putty knives started in the gap between the cover and the crankcase and I worked them around the edges until it was free.

Everything in the gearbox looks pretty good.  It’ll all have to be properly inspected but there doesn’t seem to be any backlash or galling to speak of on any of these parts.  There is no corrosion on anything in the gearbox.

The cam gear and a sneaky little nut that I’m going to forget about if I don’t make a note.
Categories
Engine Overhaul

Engine Teardown

I started tearing the engine down today.  I managed to get all the accessories off the gearbox but I couldn’t get it to budge.

Pulled the accessories off the engine.

Mags, fuel pump and oil filter screen are off.

I also managed to get one jug off.  The cylinder walls don’t look too bad but I don’t really know what to look for.  There is what appears to be some calcium deposits on the bottom of the valves and the top of the pistons.  The cylinders “look” okay but there is some corrosion and I haven’t measured the cylinder bores yet.


I need to figure out how to get the gearbox and the sump off.  I’ve beat on them a bit with a two pound rubber dead blow hammer but I don’t want to get too carried away and damage something.  It’s late and I’m tired so I’ll go home and do some research. fake watches replica for sale watch replica shop rolex

Categories
Systems

Smoke Oil Tank

While I wait to see if there’ll be enough money in the budget to overhaul the engine I’ve been piddling around with things as I feel up to it.  I wanted to see if I could get a smoke oil tank to fit in the cabin under the fuel tank.  I took a cardboard box and started mocking up a tank.  This is what I came up with.

Had to cut the rear top corner off of the smoke tank to get it to clear the stick.

It’s a bit of a convoluted shape but it fits and would hold more than four gallons of smoke oil.  Now I just need to learn how to weld aluminum. aaa quality replica breitling watch replica watches rolex submariner swiss for sale

Categories
Fuselage

Trim Tab

I started looking for other things to do and I decided to go ahead and rebuild the trim tab.  I wanted to take the fabric off of at least one elevator anyway to check for corrosion.  This gave me an excuse.  Elton hadn’t finished the trim tab and it had a bit of a rub.  I’m not sure how he planned to fix it but I decided that it’d be easy enough to make a new one.

The hinge material that I had didn’t let me use the existing holes that Elton had on the elevator so I cut that cross member off and made another.

I made a template from the existing tab.  It took a couple of tries but I finally got one that fits pretty well.


Categories
Uncategorized

Slow Going

I’ve managed to do a little bit of work on the project but it’s been slow.  I didn’t quite finish the baffles because I decided that it might not make sense right now because of the questionable condition of the engine.  If I have to go a different direction on the engine then all of this work on the baffles could be wasted.

I pulled the engine and put it on a stand and started doing some research on how to proceed with that project.

I also pulled the firewall so that I could do a little work on it.  Because of the changes that I plan to make on the engine some of the penetrations in the firewall are probably going to move.  I also decided that while I have the firewall off I’d put nutplates and screws in this bungee cover so that I can get to those more easily in the future.


Categories
Firewall Forward

Starting on Baffles

I don’t think that Elton was finished with the baffles and some of it won’t work with some of the changes that I’m planning to make.  Mostly the baffles that he had were set up to take induction air from right rear baffle.  That had to do with the engine having a rear facing sump.  The servo is just not going to fit on the back of engine without cutting into the firewall.  I’d rather just replace the sump so the baffles need to change.

I started by cutting patterns out of posterboard.  It shouldn’t be too difficult to make these baffles since I have pretty good patterns to go by with what Elton has already done.  I wanted to get this done before I pull the engine and start sending it off to get it overhauled.


Categories
Firewall Forward

Cowling Fit

  
Today I installed the cowling just to make sure it would fit. I also wanted to see how close the baffling fits. I’m going to replace some of the baffling because some of it won’t work with what I’m going to do in the engine compartment.